Octopus Home Pro Documentation
Comprehensive guides and reference materials for users and developers.
Getting Started
Welcome to the Octopus Home Pro documentation. This guide will help you set up and get the most out of your device.
What's in the Box
- Octopus Home Pro device
- Power adapter (5V/3A USB-C)
- Quick start guide
- Safety information
System Requirements
- SMETS2 compatible smart meters (electricity and/or gas)
- WiFi network (2.4GHz)
- Mobile device with iOS (iPhone/iPad) or Android with Bluetooth capability for initial setup
- Power outlet near the installation location
- For development: Computer with VS Code installed
User Guide
The Octopus Home Pro is designed to be user-friendly while offering powerful features for those who want to dive deeper.
Device Layout

Front Panel
- Status LED
- Power button
- Reset button (recessed)
Rear Panel
- USB-C power input
- USB 2.0 port
- GPIO header (40-pin)
LED Status Indicators
| LED | State | Meaning |
|---|---|---|
| Solid Green | Normal operation - WiFi and Zigbee connected and working properly | |
| Flashing Orange | SDK has installed and is active | |
| Solid Orange | SDK has encountered an issue | |
| Flashing Yellow | Process in progress (SDK downloading, applying update, installing 3rd party app) | |
| Solid Yellow | USB logging in progress (USB plugged in) | |
| Blinking Yellow | Blinks several times to indicate USB error occurred during logging | |
| Solid Red | System error requiring attention (WiFi disconnected, Zigbee connection lost, device frozen) | |
| Off | Power off |
Device Setup
Follow this step-by-step visual guide to set up your Octopus Home Pro device with the Octopus Energy R&D Labs app:
-
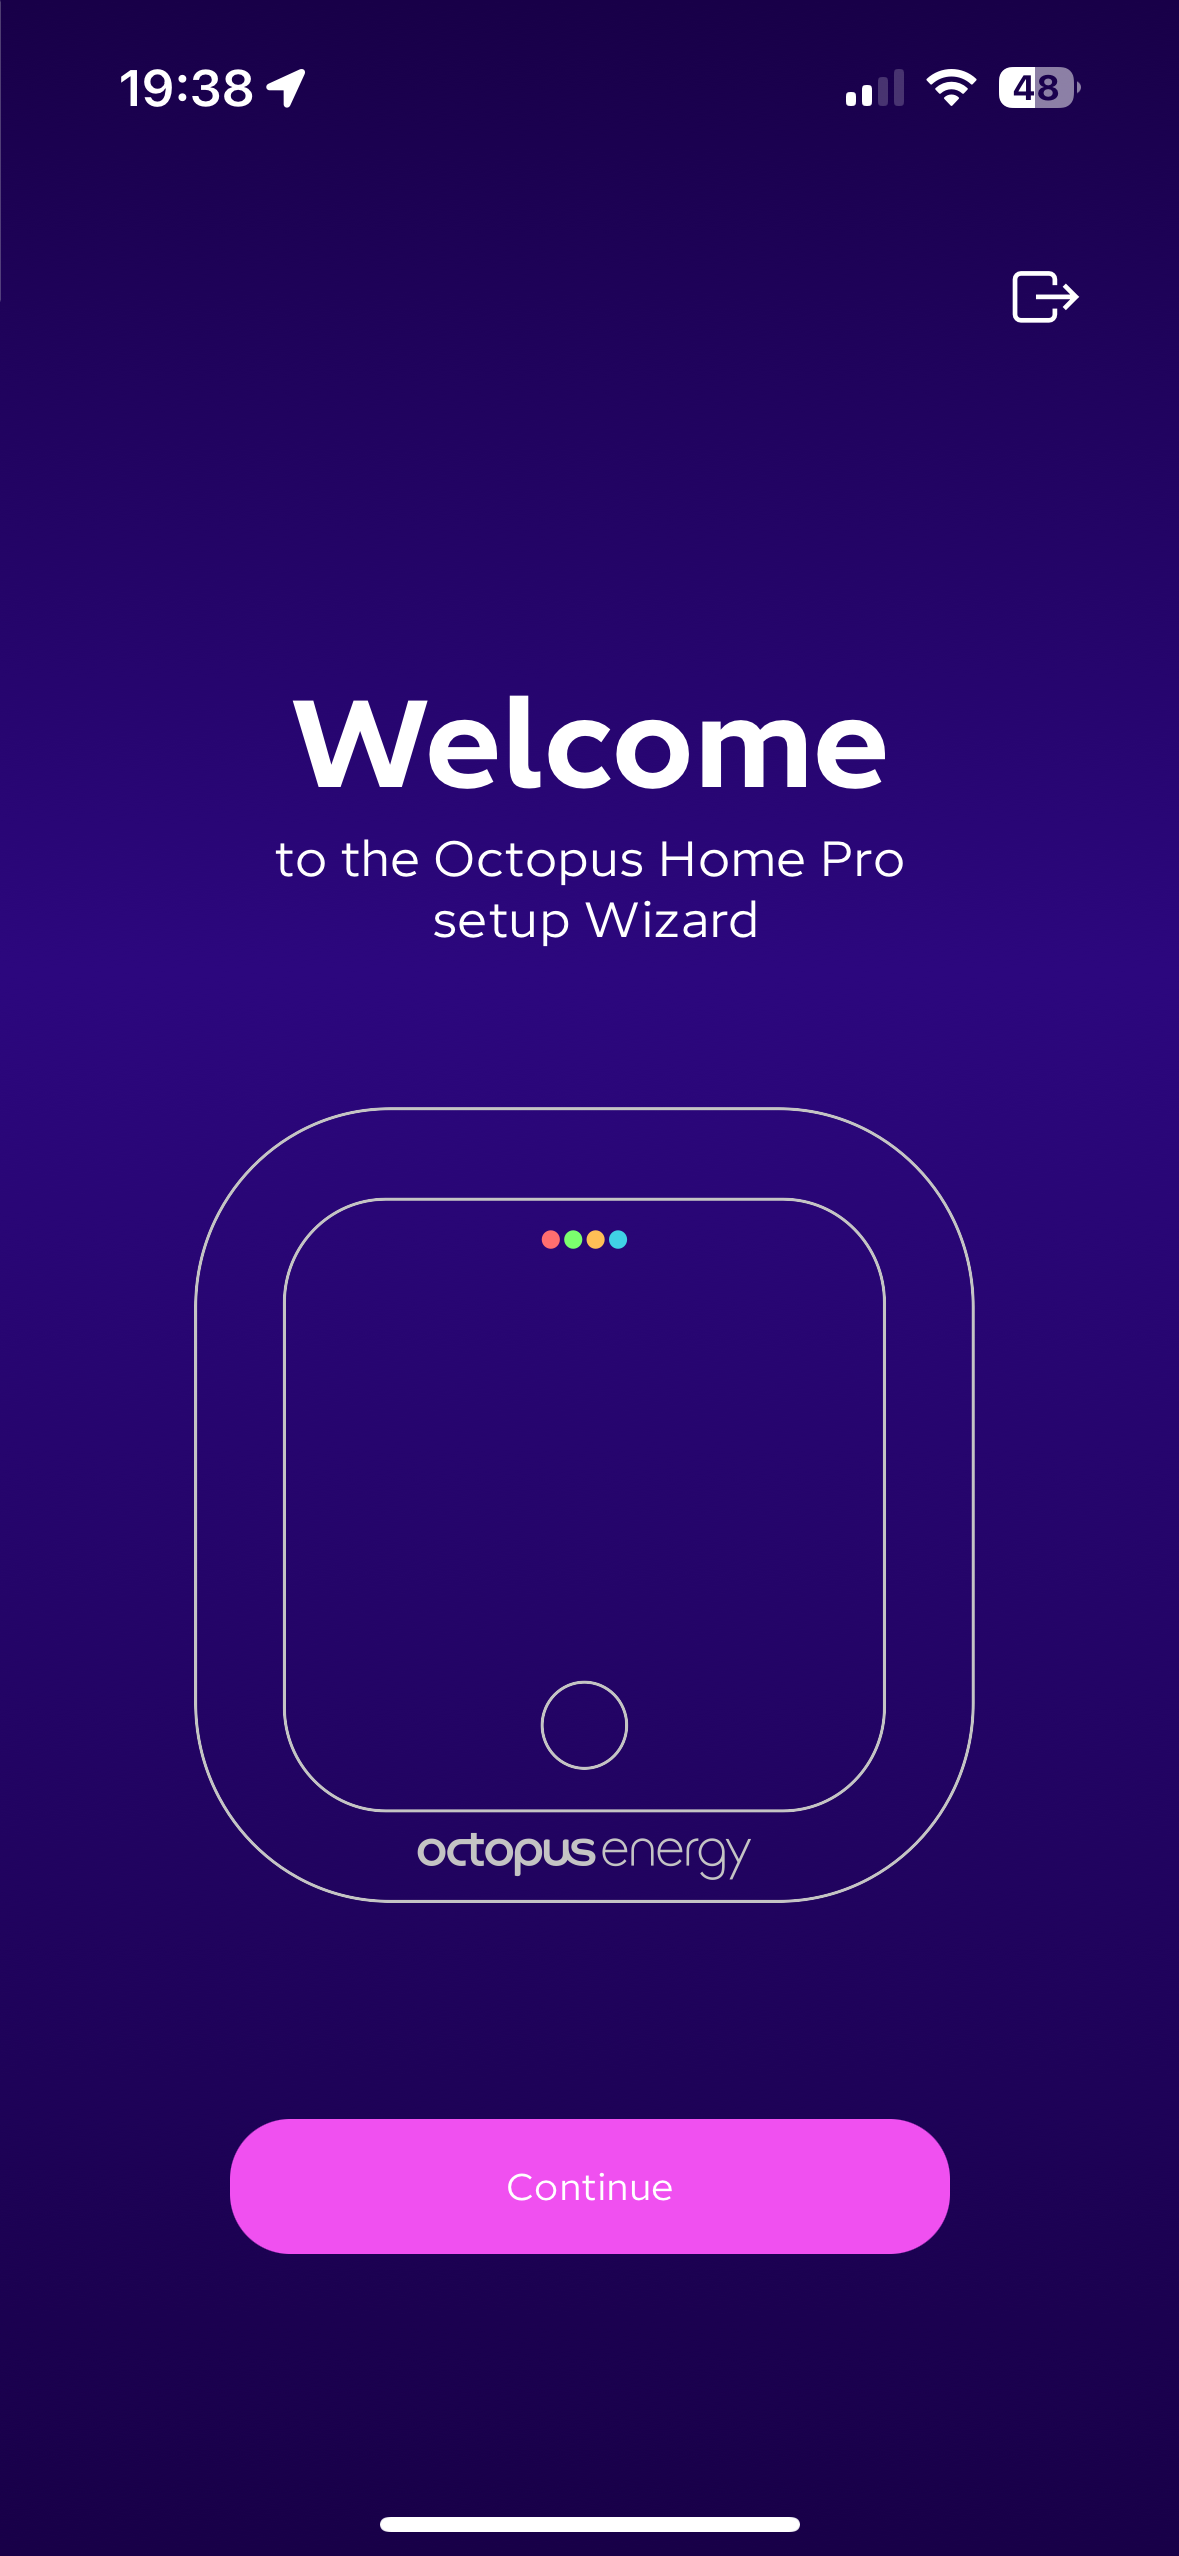
Launch the Setup Wizard
Power on your Octopus Home Pro device and open the Octopus Energy R&D Labs app on your mobile device. You'll be greeted with the setup wizard welcome screen.
-
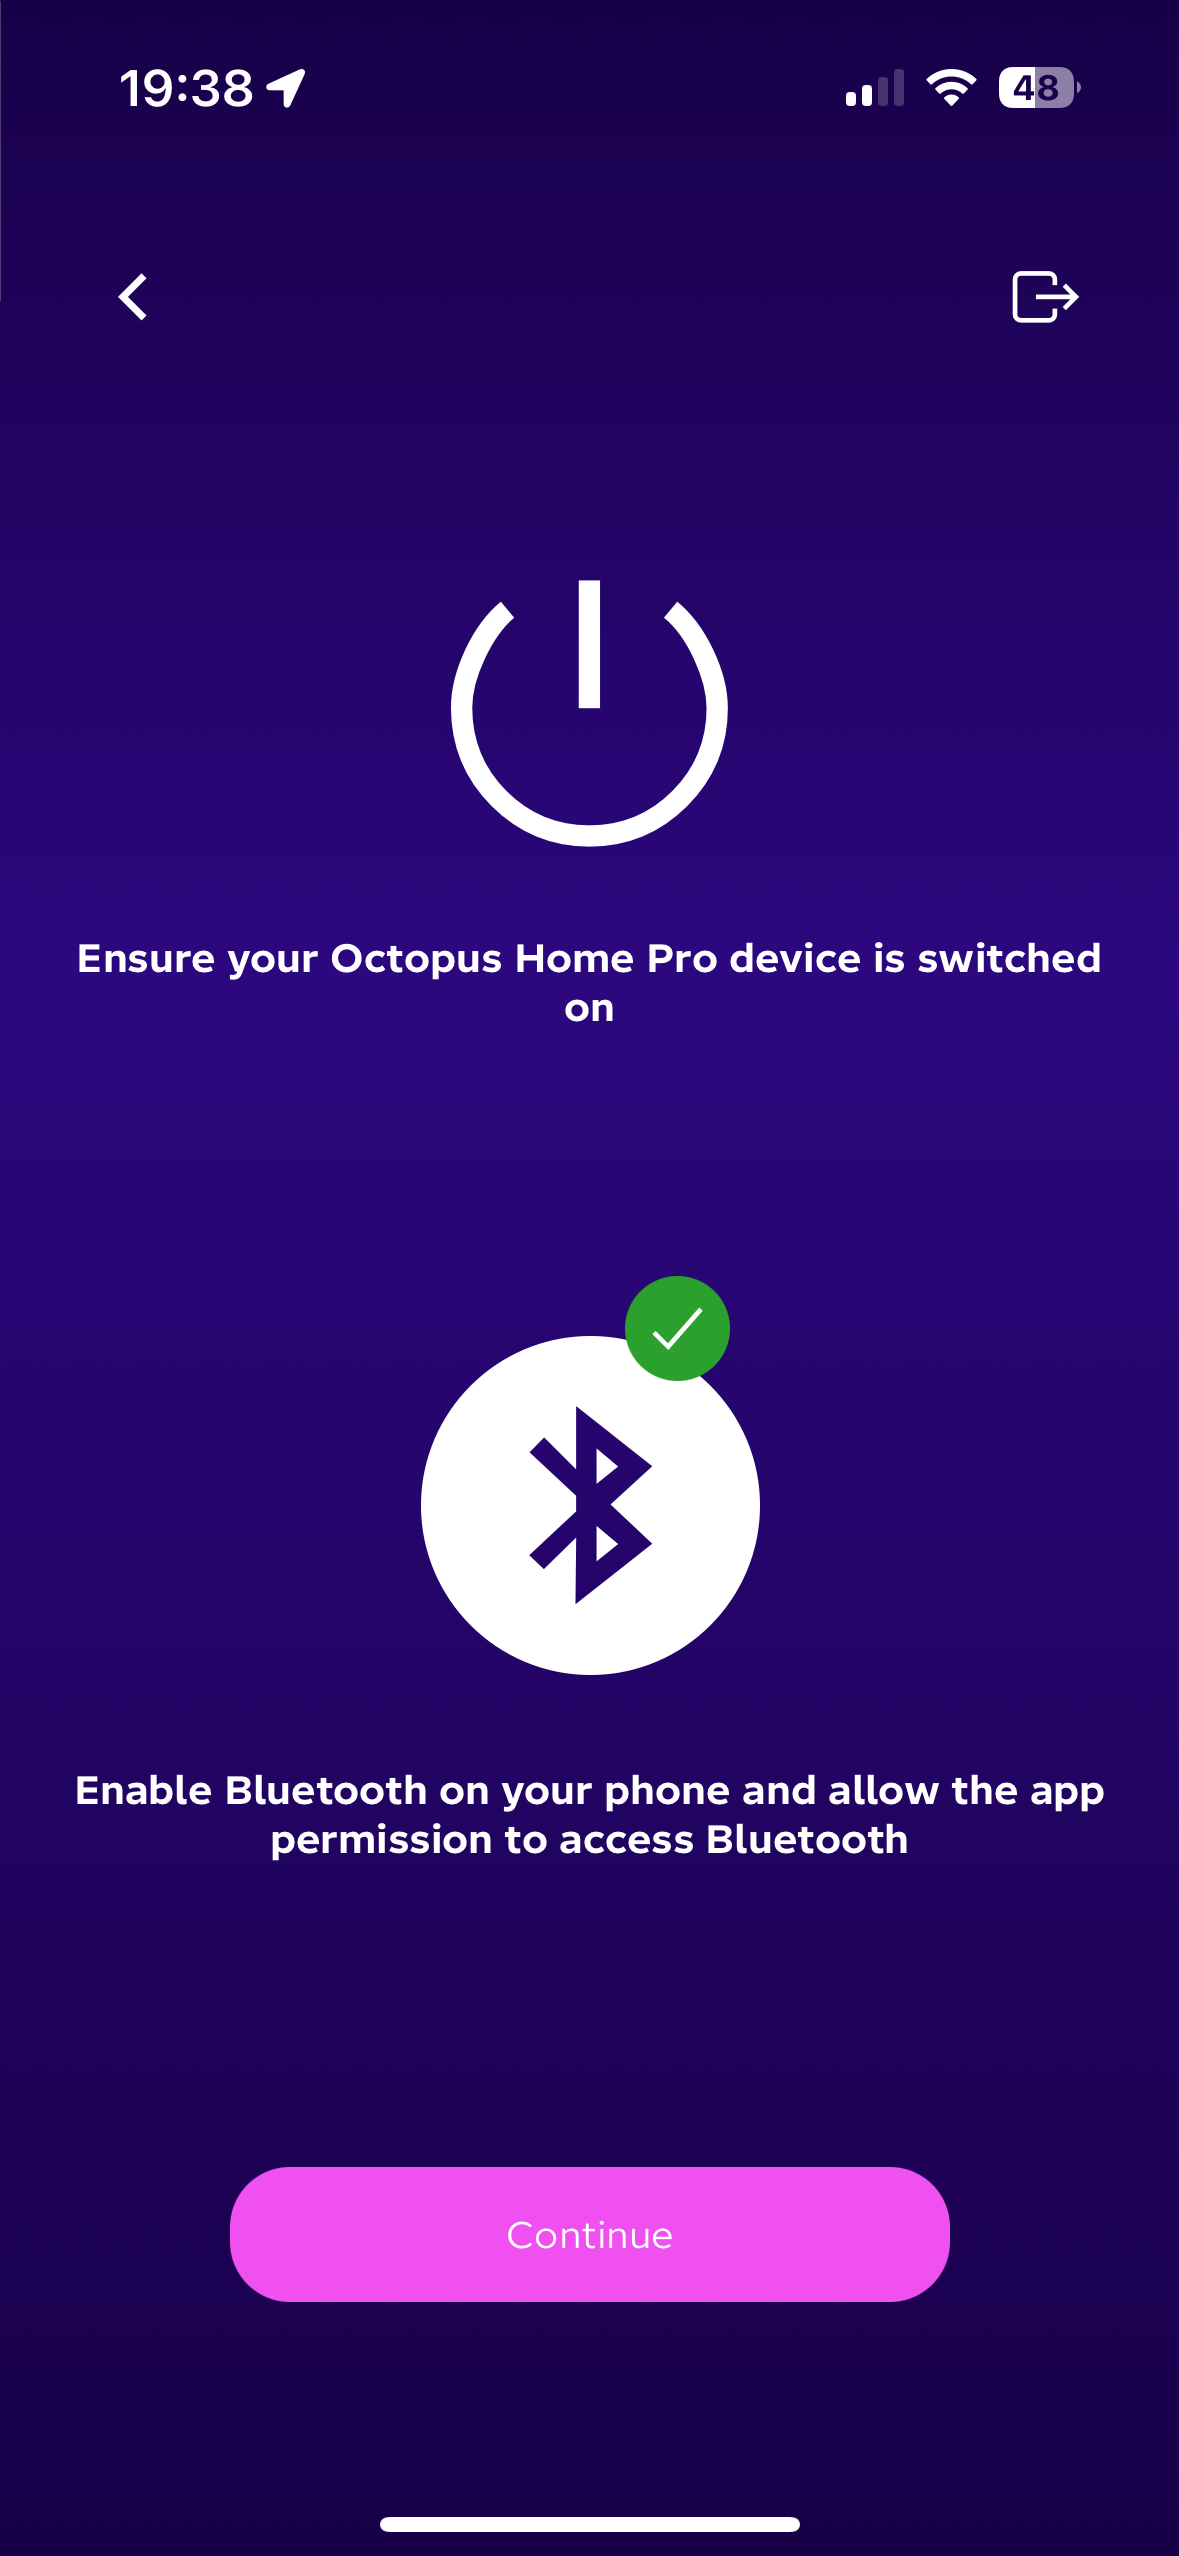
Enable Bluetooth Connection
Ensure your Octopus Home Pro device is switched on. Enable Bluetooth on your smartphone and allow the app permission to access Bluetooth. Click "Continue" to proceed.
-
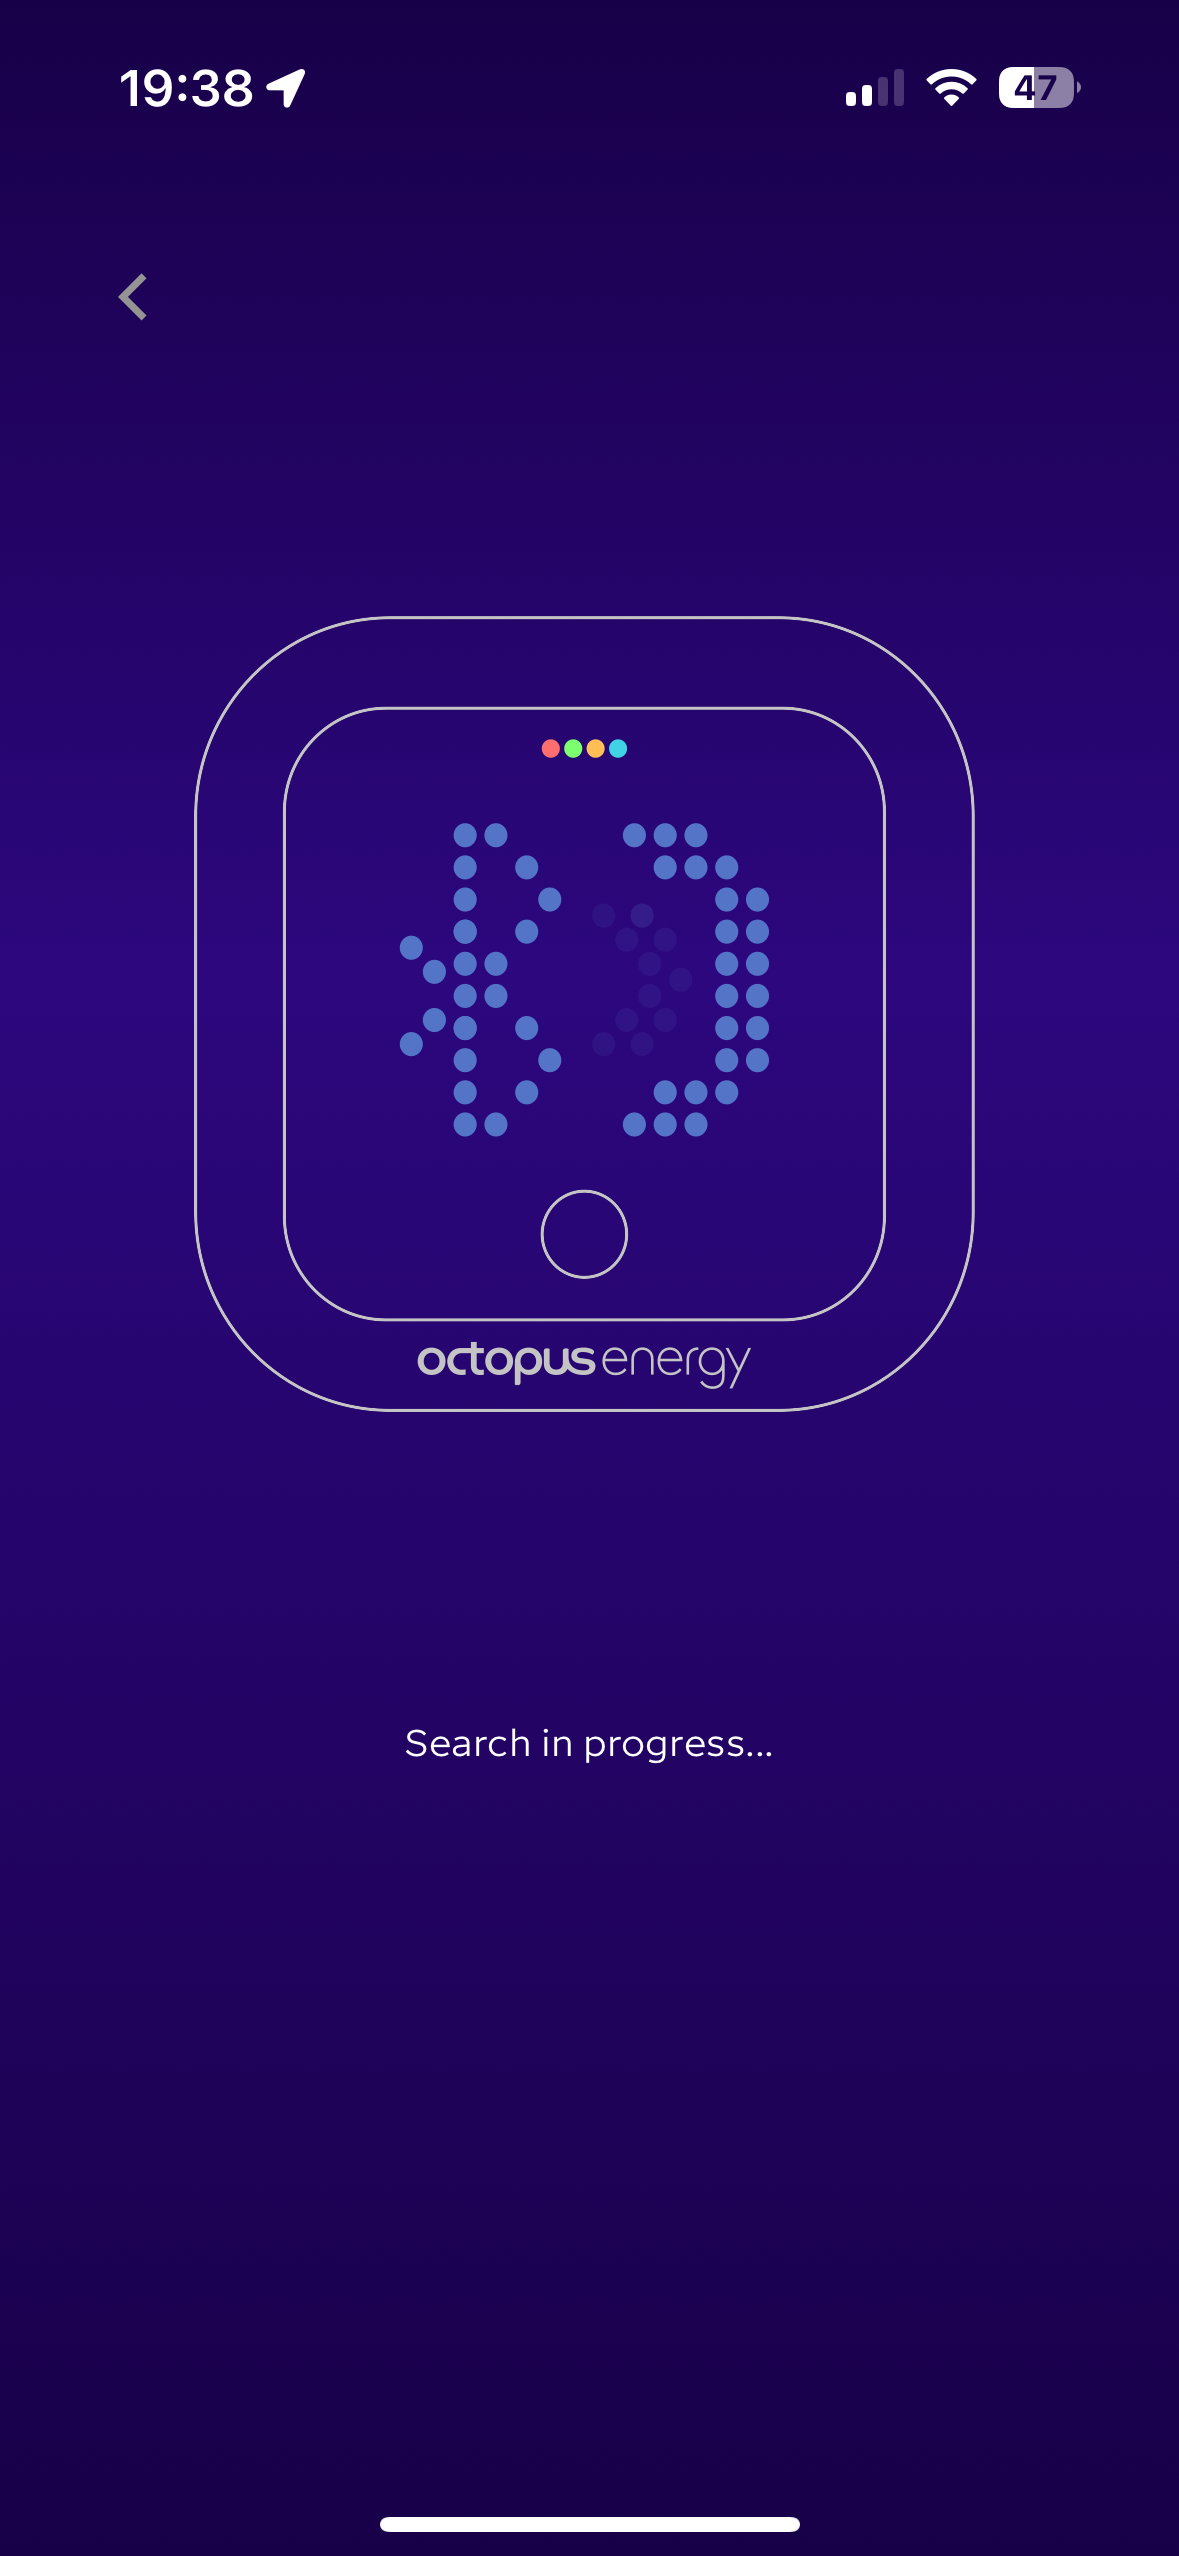
Device Discovery
The app will search for nearby Octopus Home Pro devices. This may take a few moments as the app scans for Bluetooth signals.
-
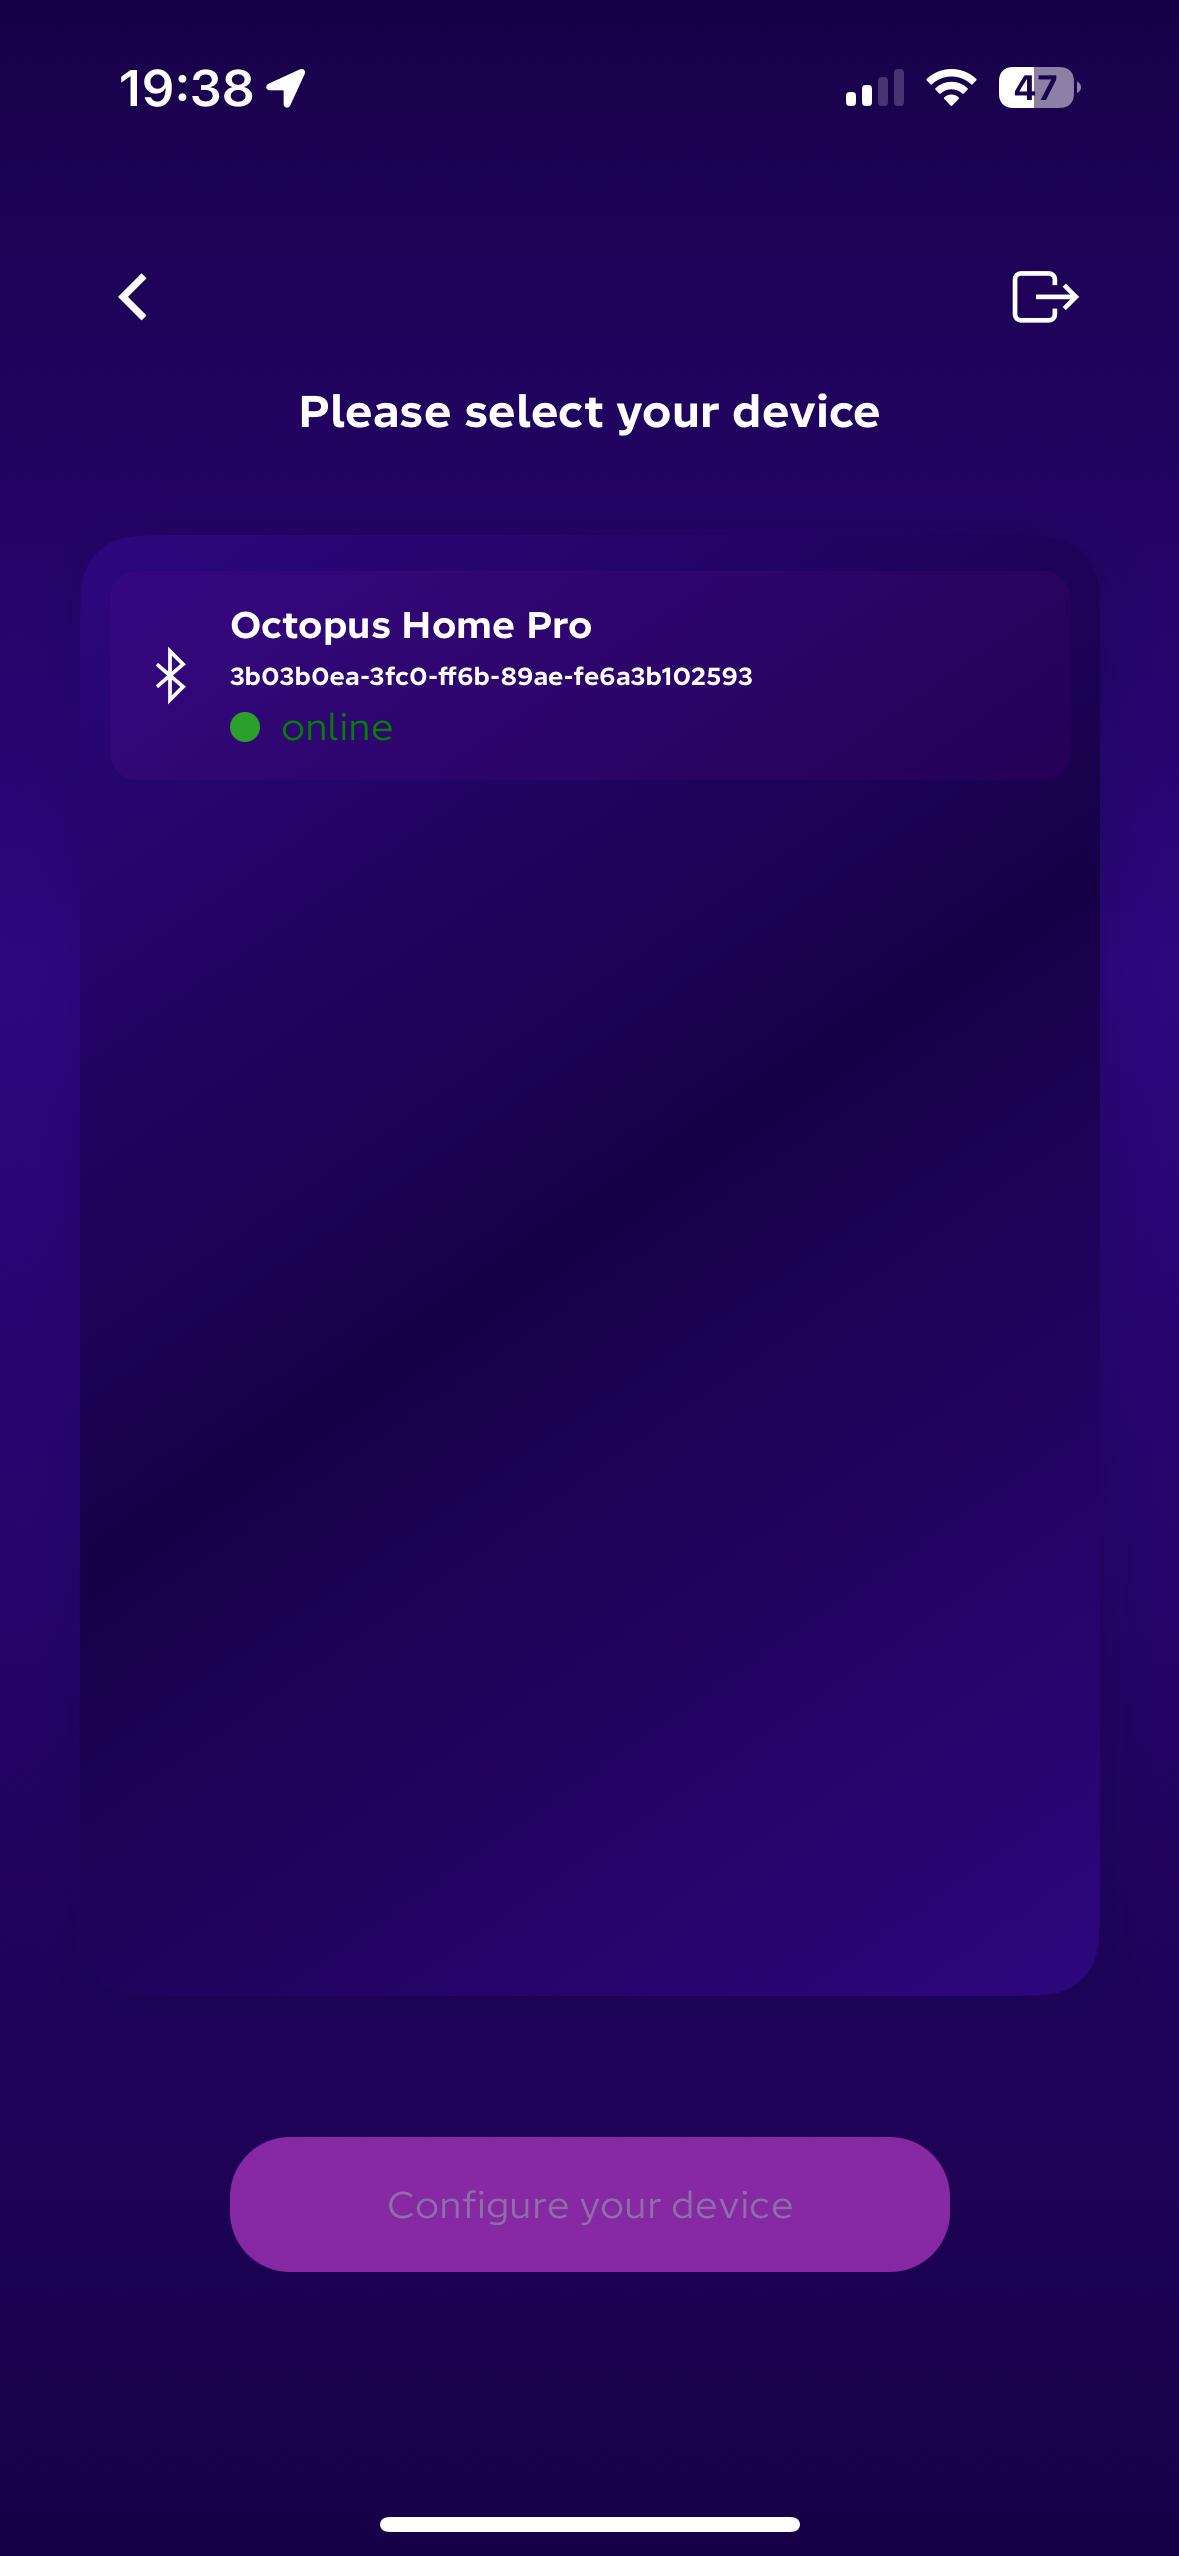
Select Your Device
Once discovered, your Octopus Home Pro device will appear in the list. Select your device and tap "Configure your device" to continue.
-
Wi-Fi Configuration
Choose a Wi-Fi configuration method: either "Manual setup" or "WPS button" if your router supports it. The manual option allows you to enter your Wi-Fi credentials directly.
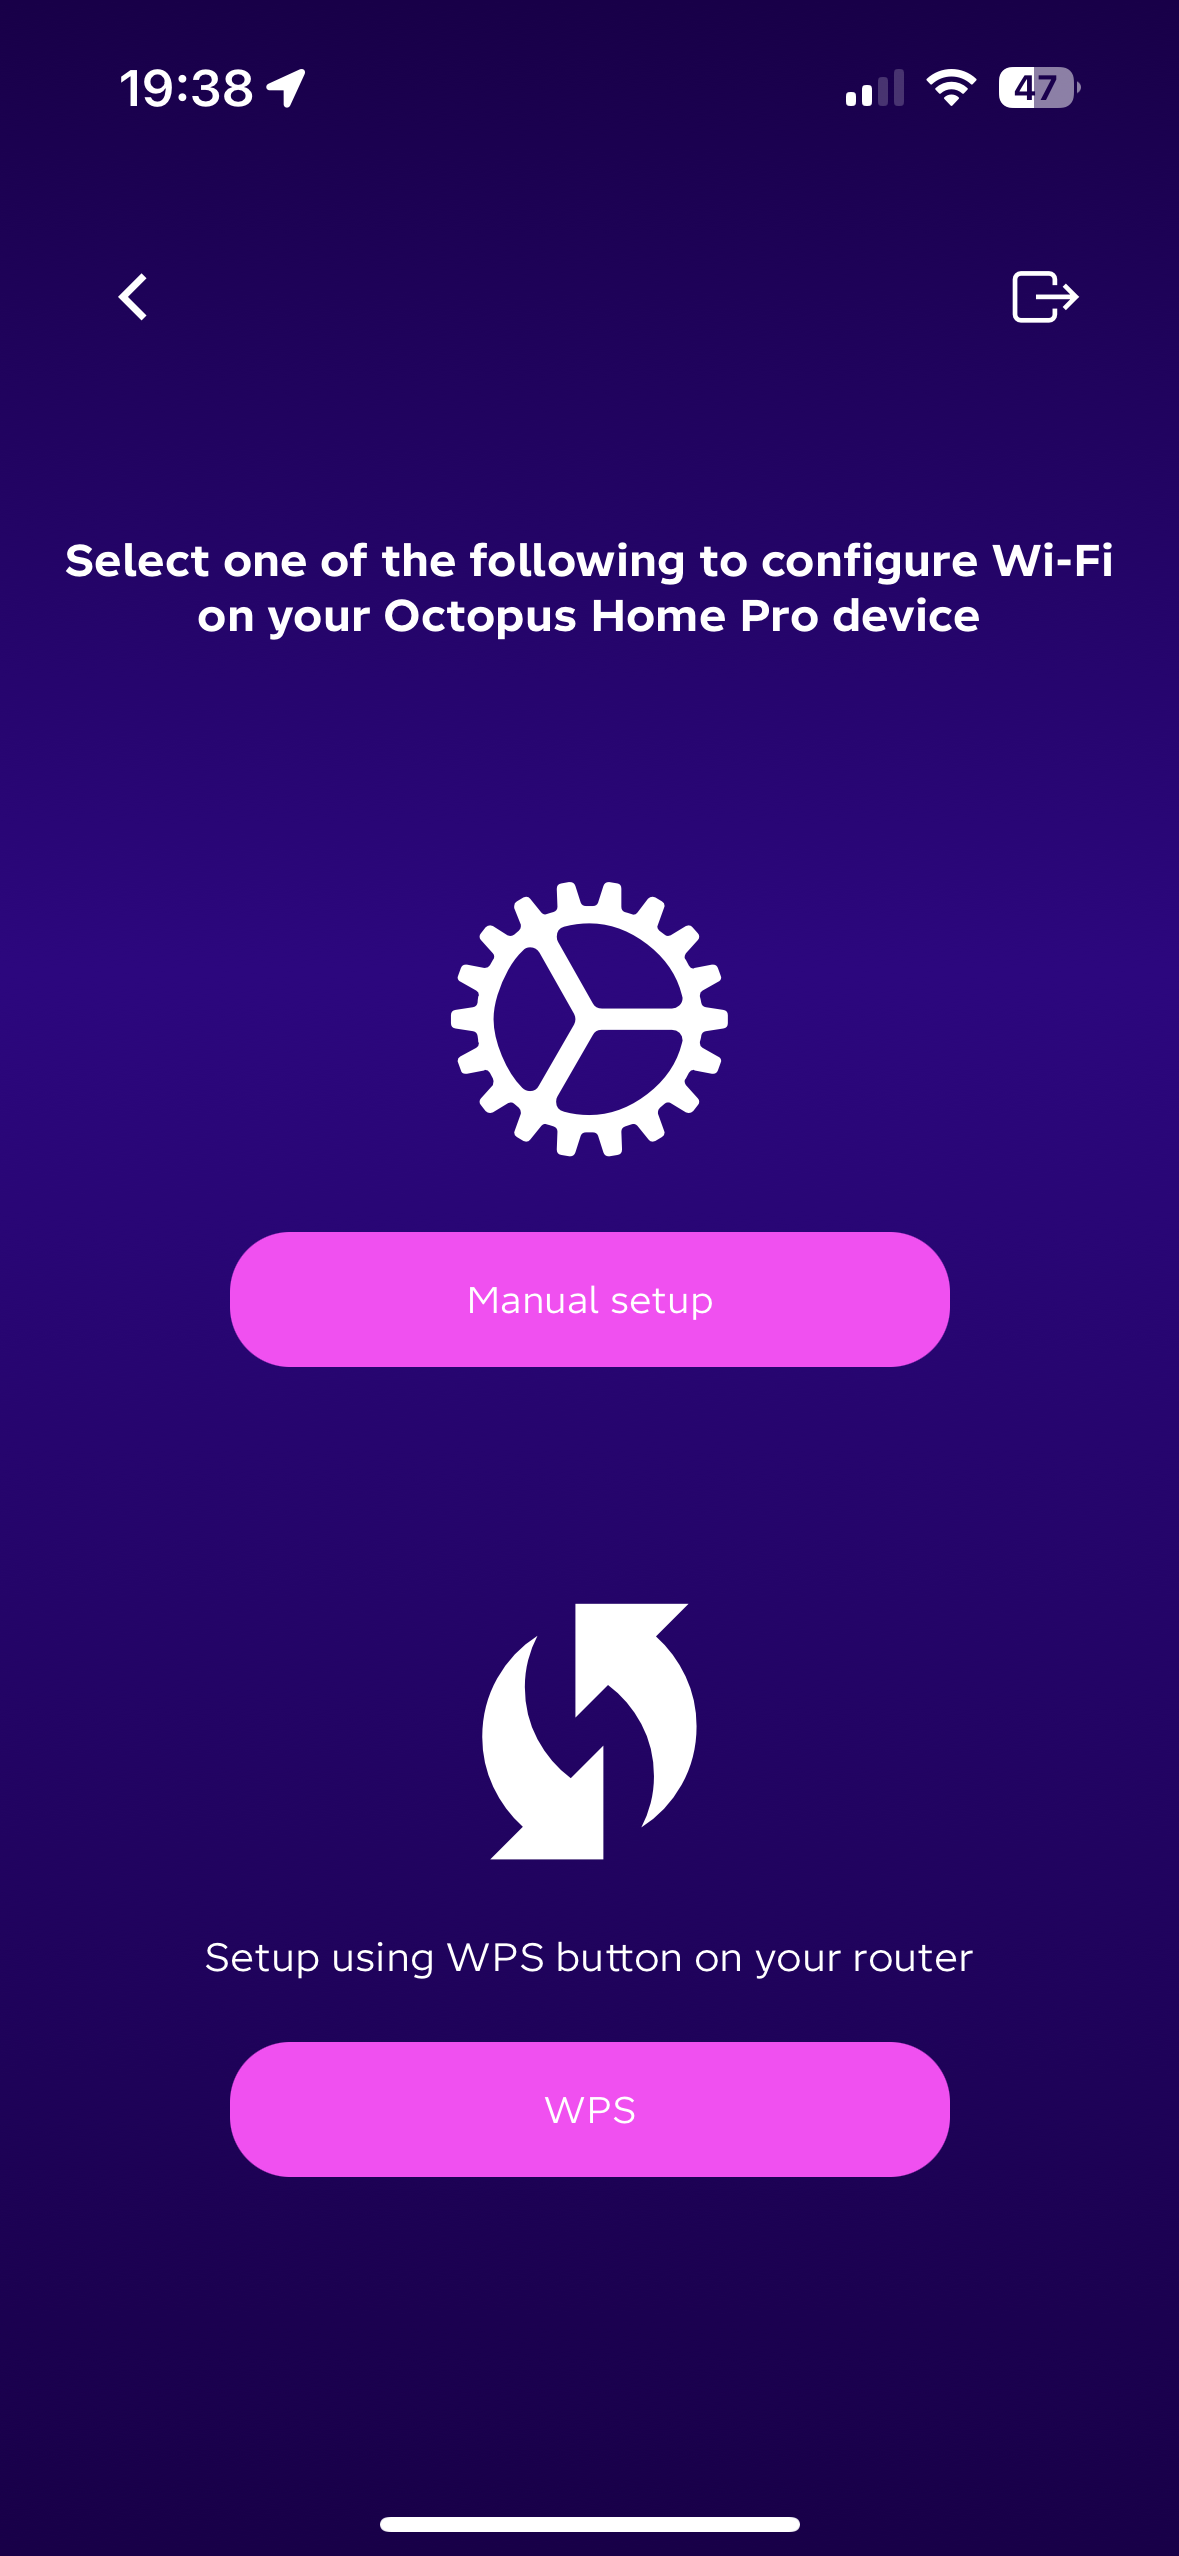
 Note: The Octopus Home Pro uses 2.4GHz WiFi. If you have a dual-WiFi network (same WiFi credentials across both 2.4GHz and 5GHz) you may experience some issues. Try to use WiFi credentials that are configured only for your 2.4GHz WiFi network.
 -
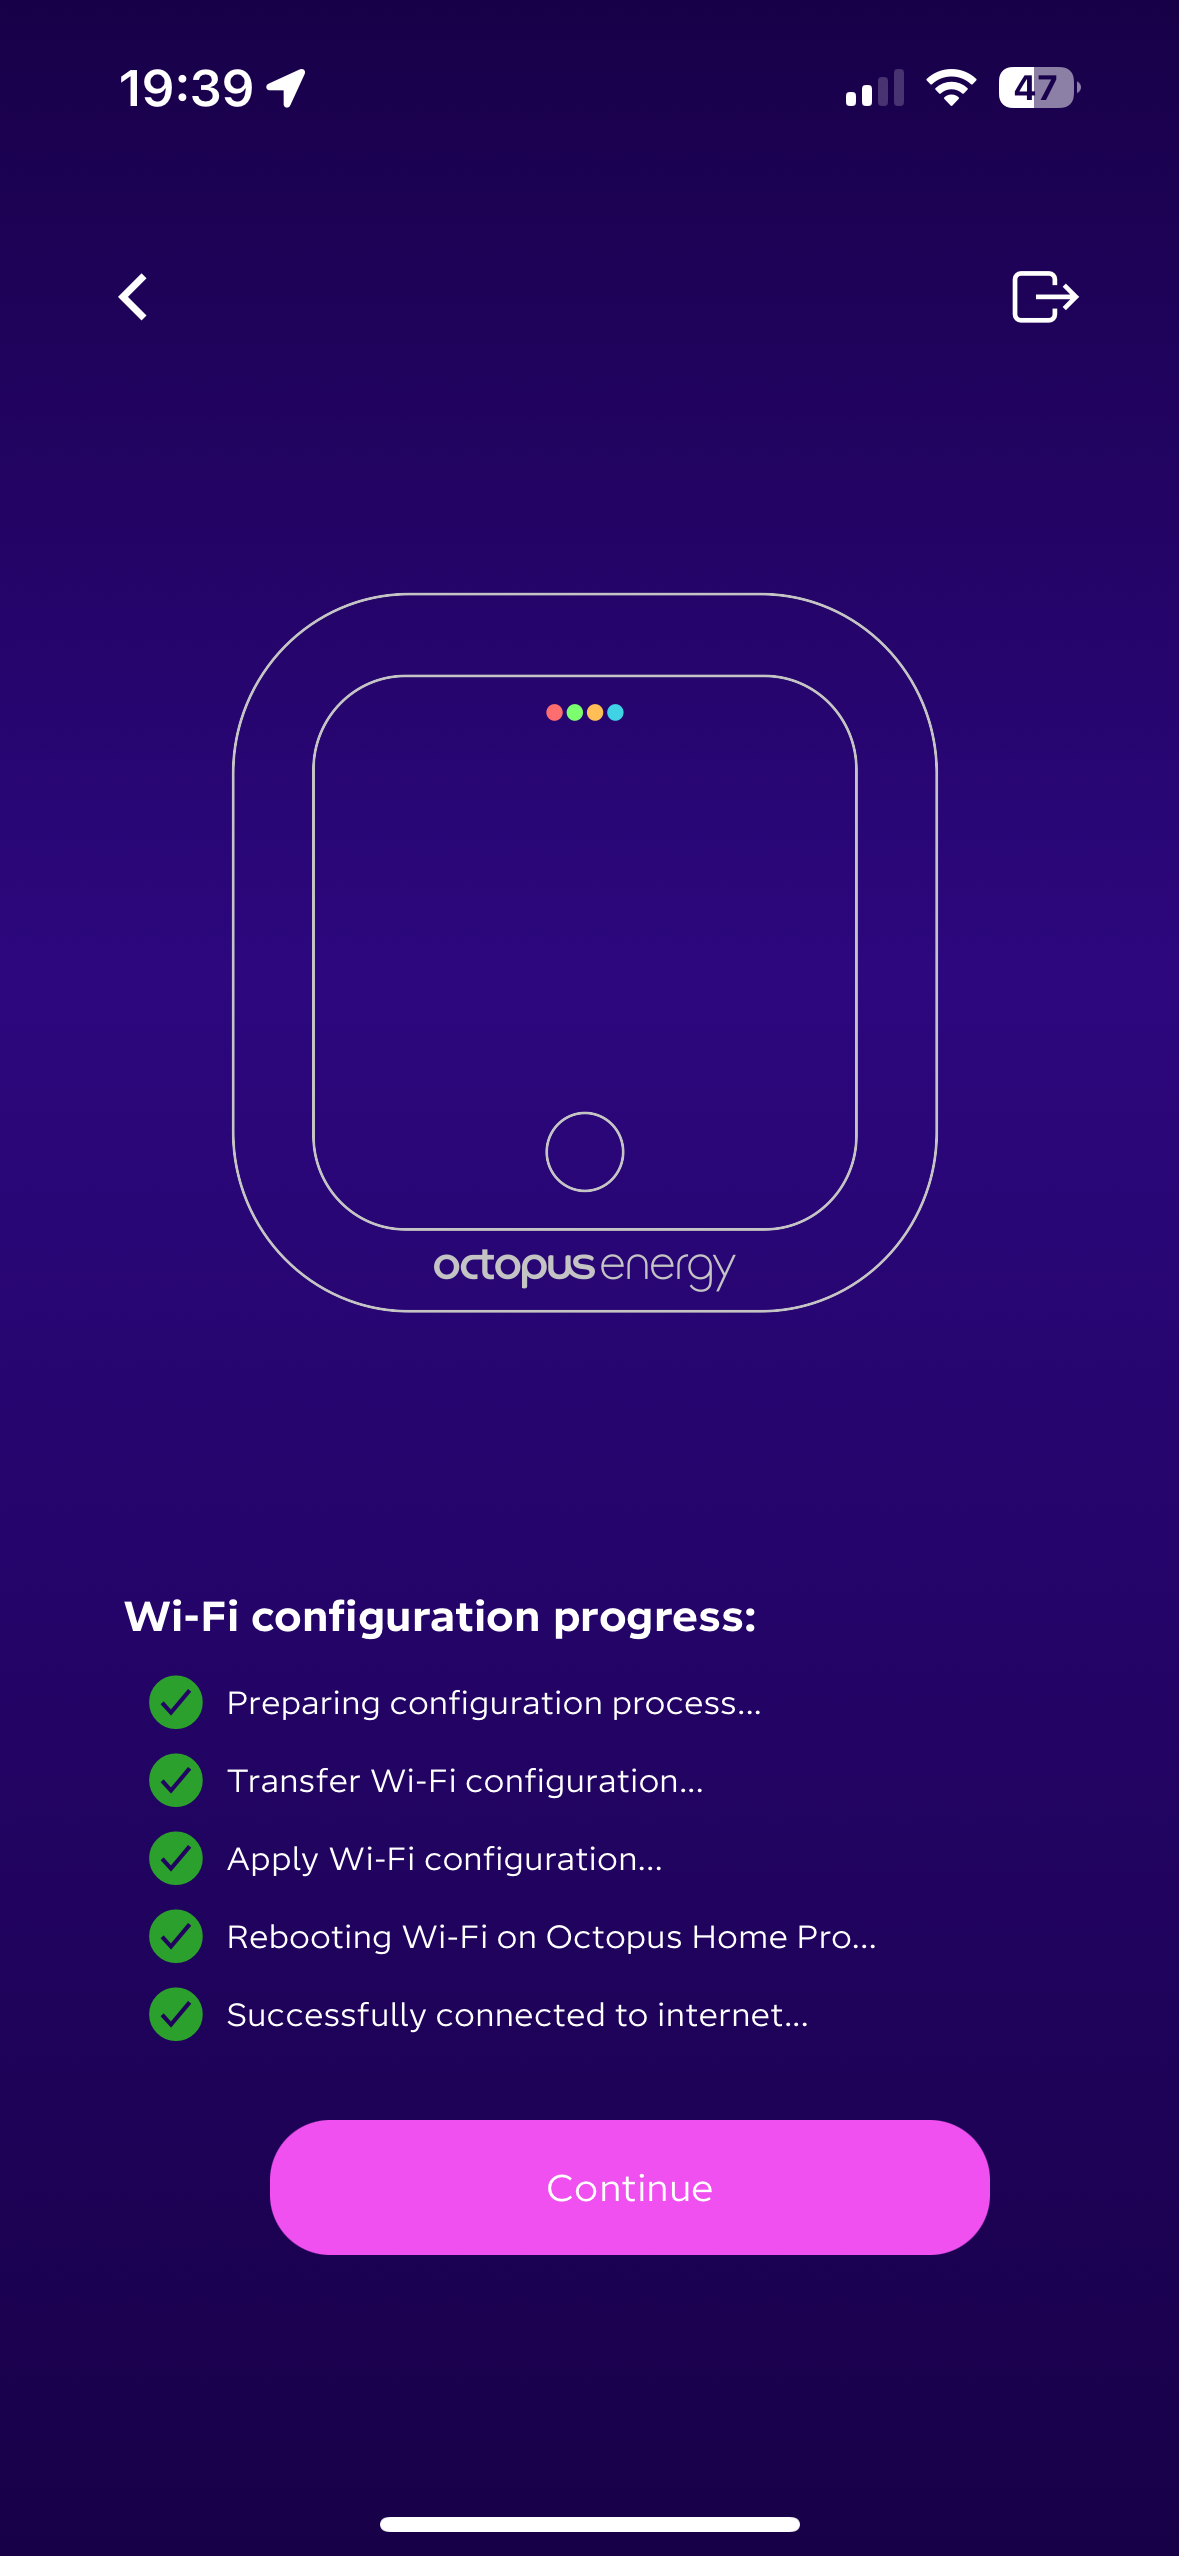
Wi-Fi Connection Progress
The app will configure your device's Wi-Fi connection. You'll see a progress screen with checkmarks as each step completes successfully.
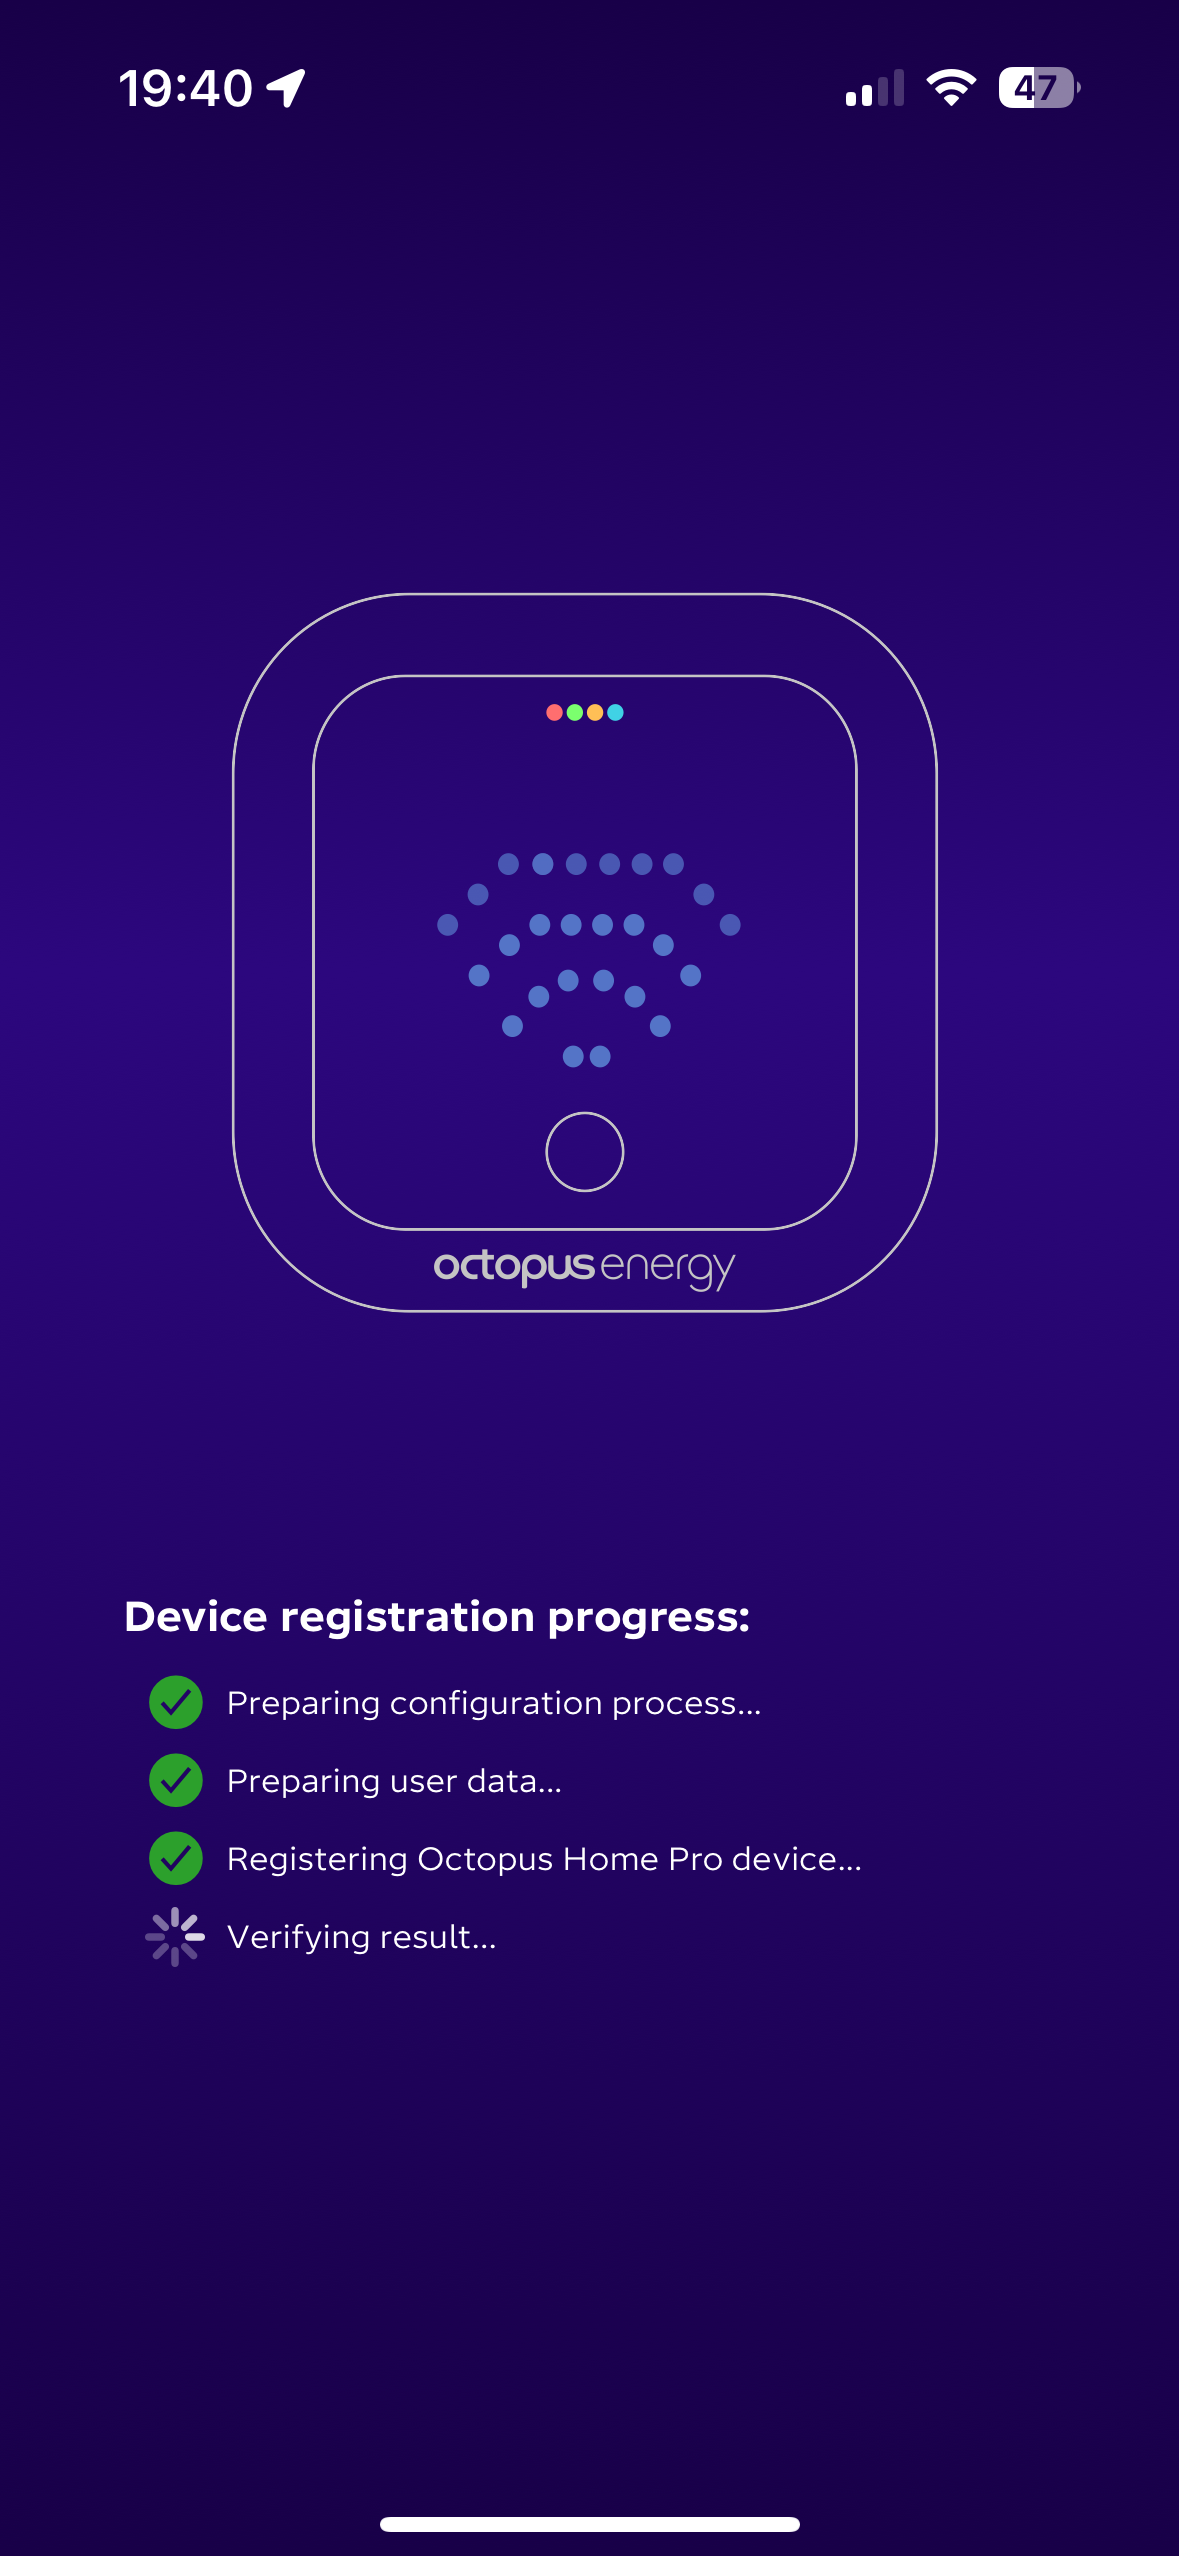
-
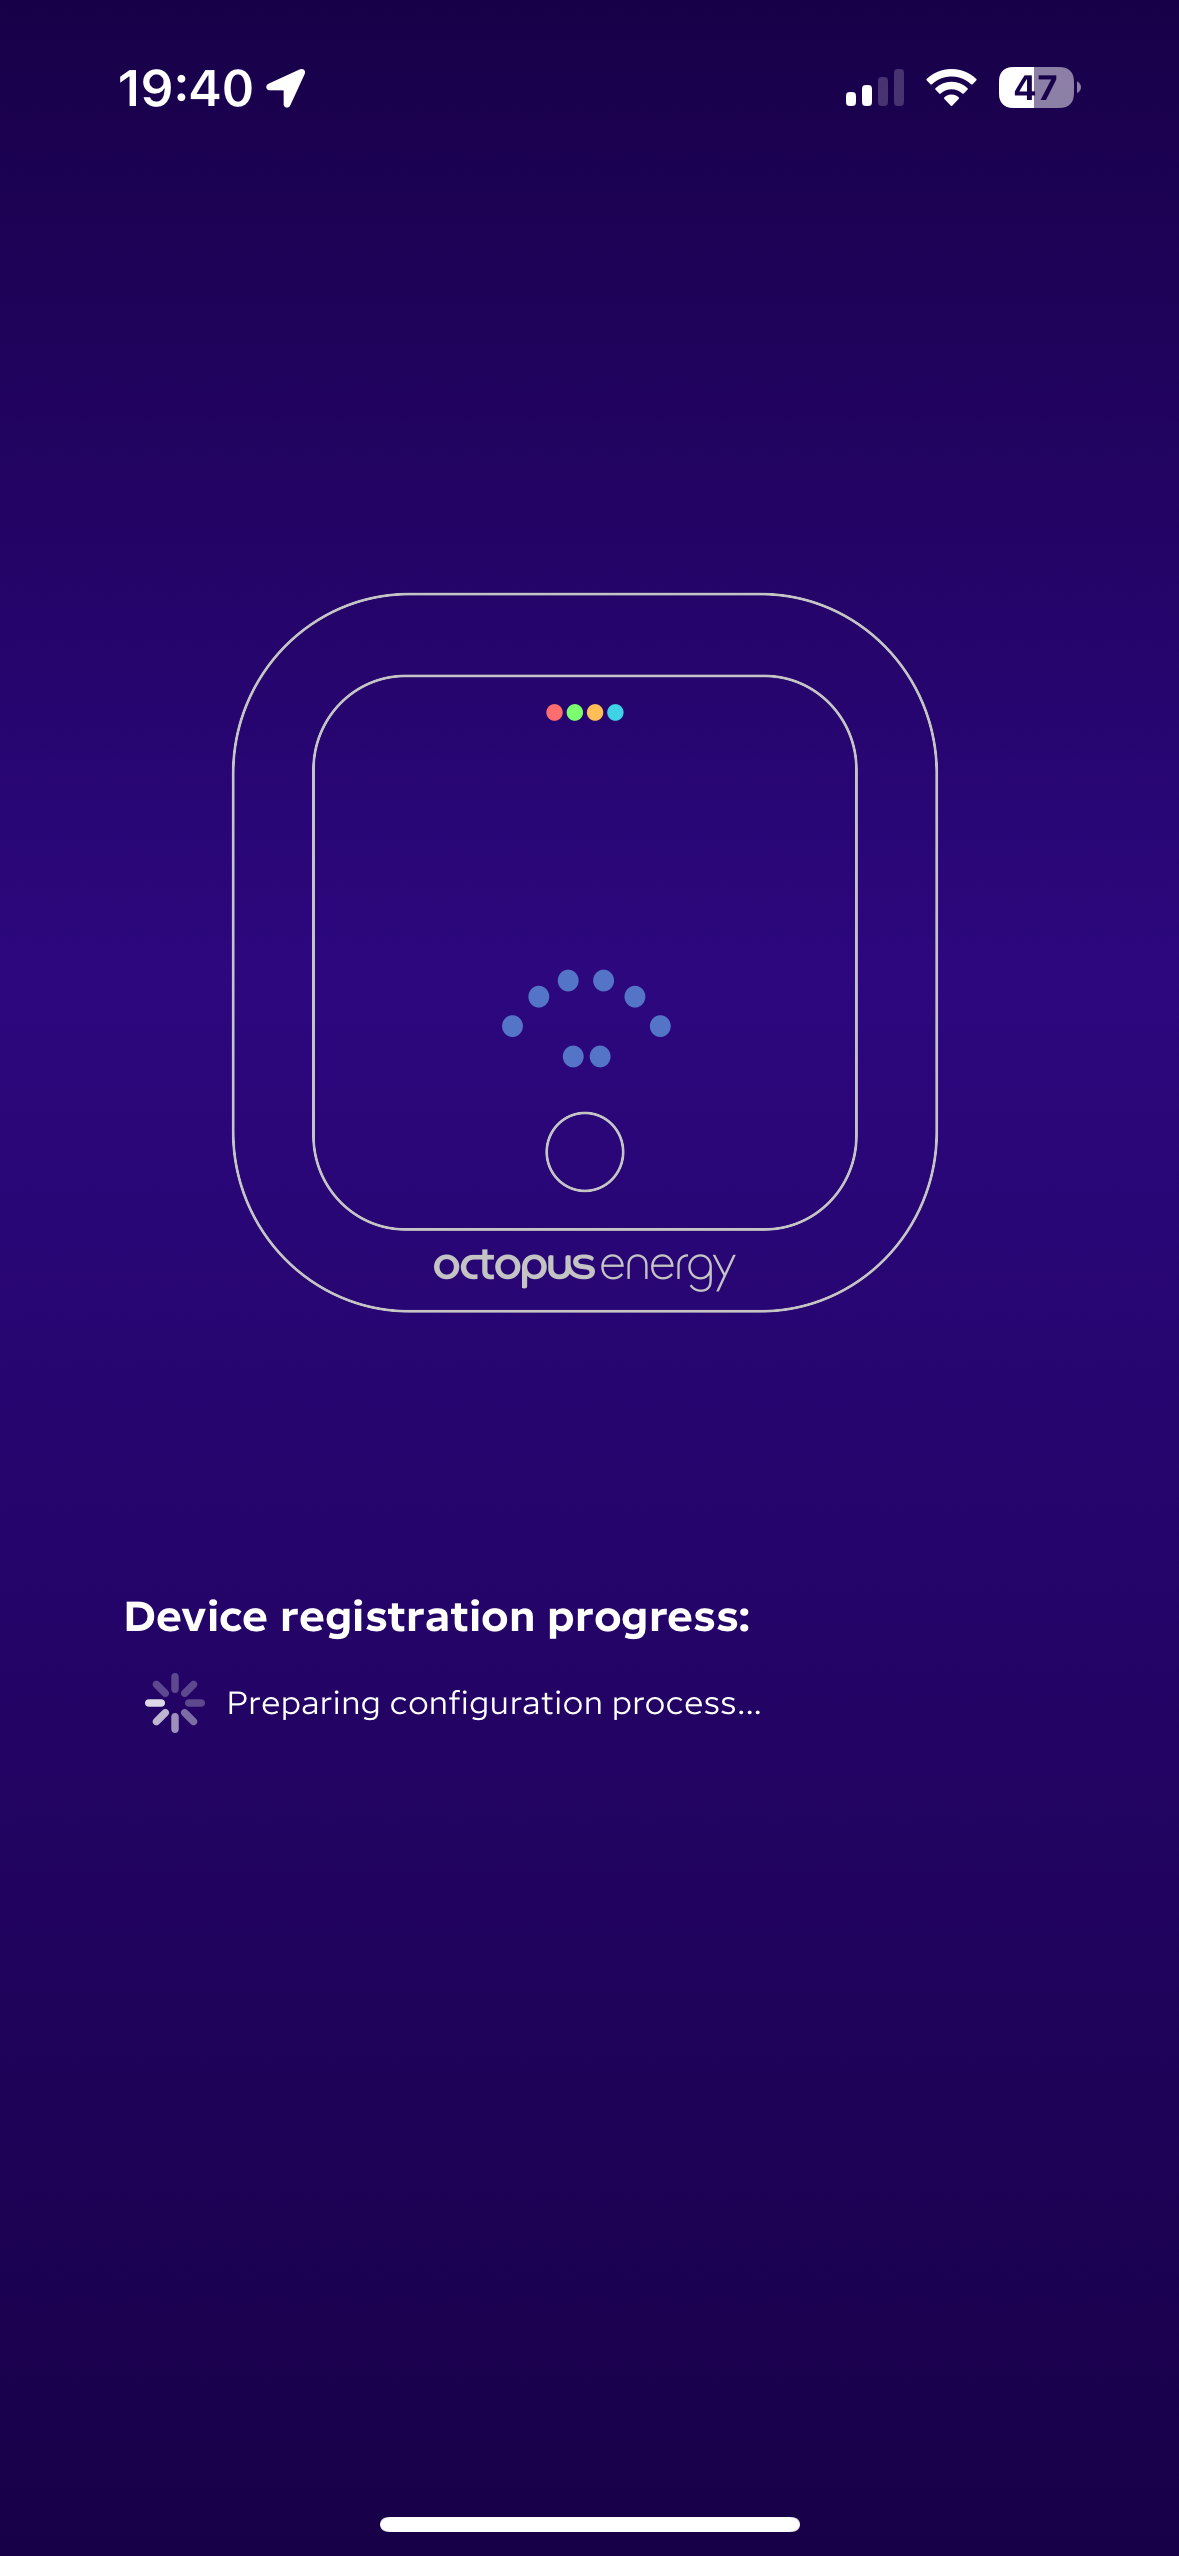
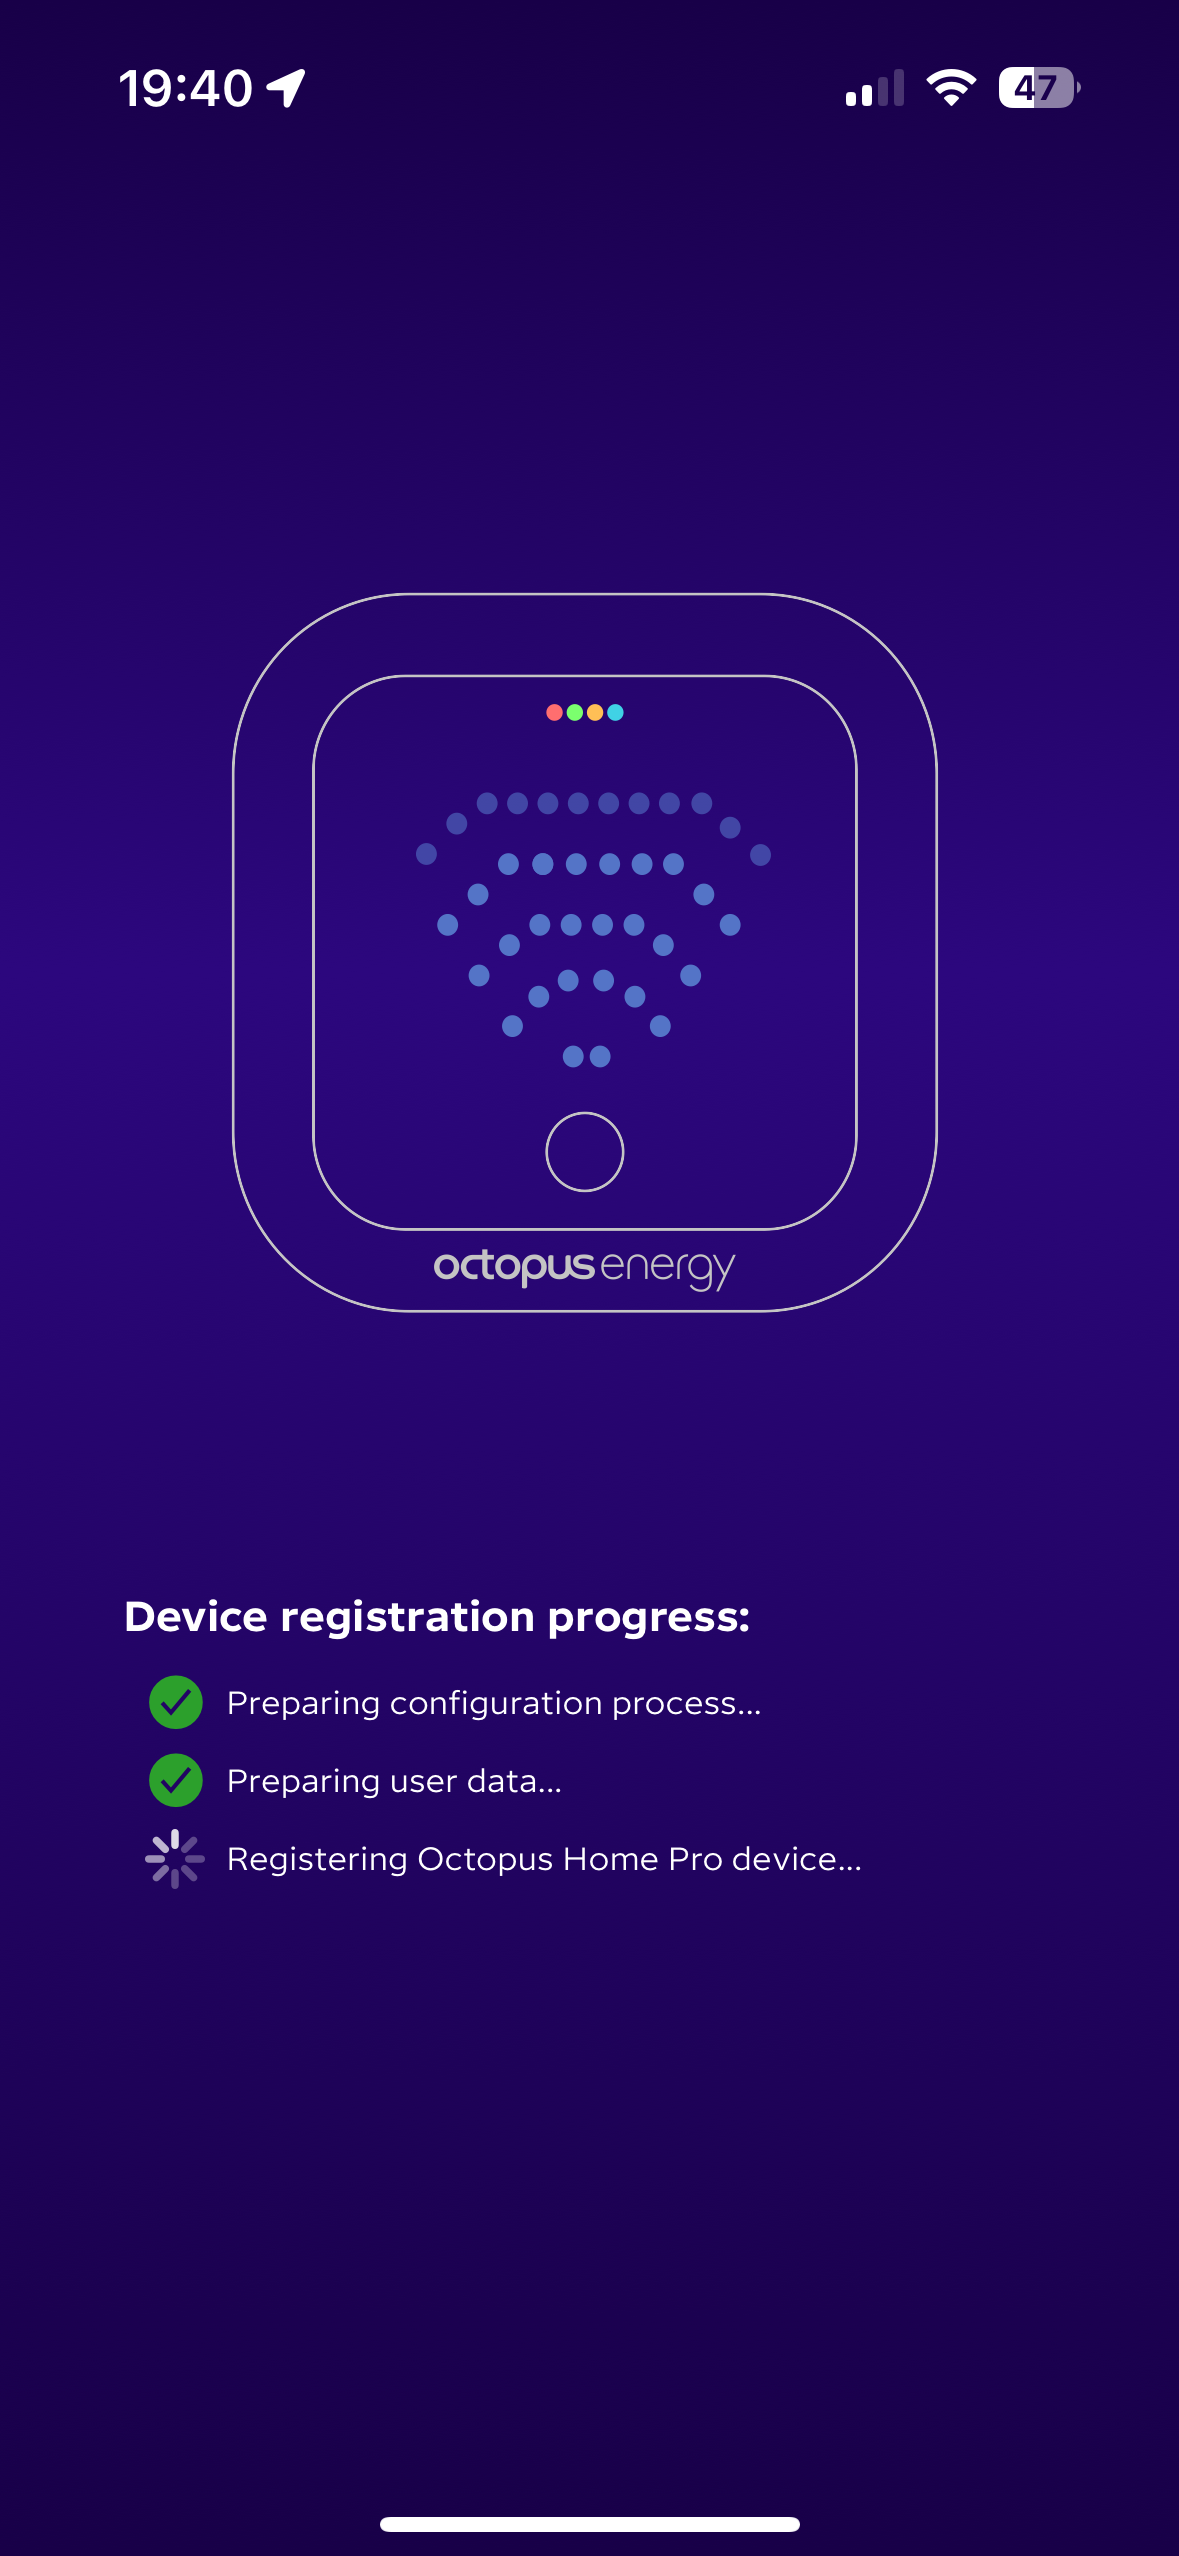
Device Registration
After Wi-Fi setup, the device will begin the registration process with Octopus Energy. This registers your device in the Octopus ecosystem.
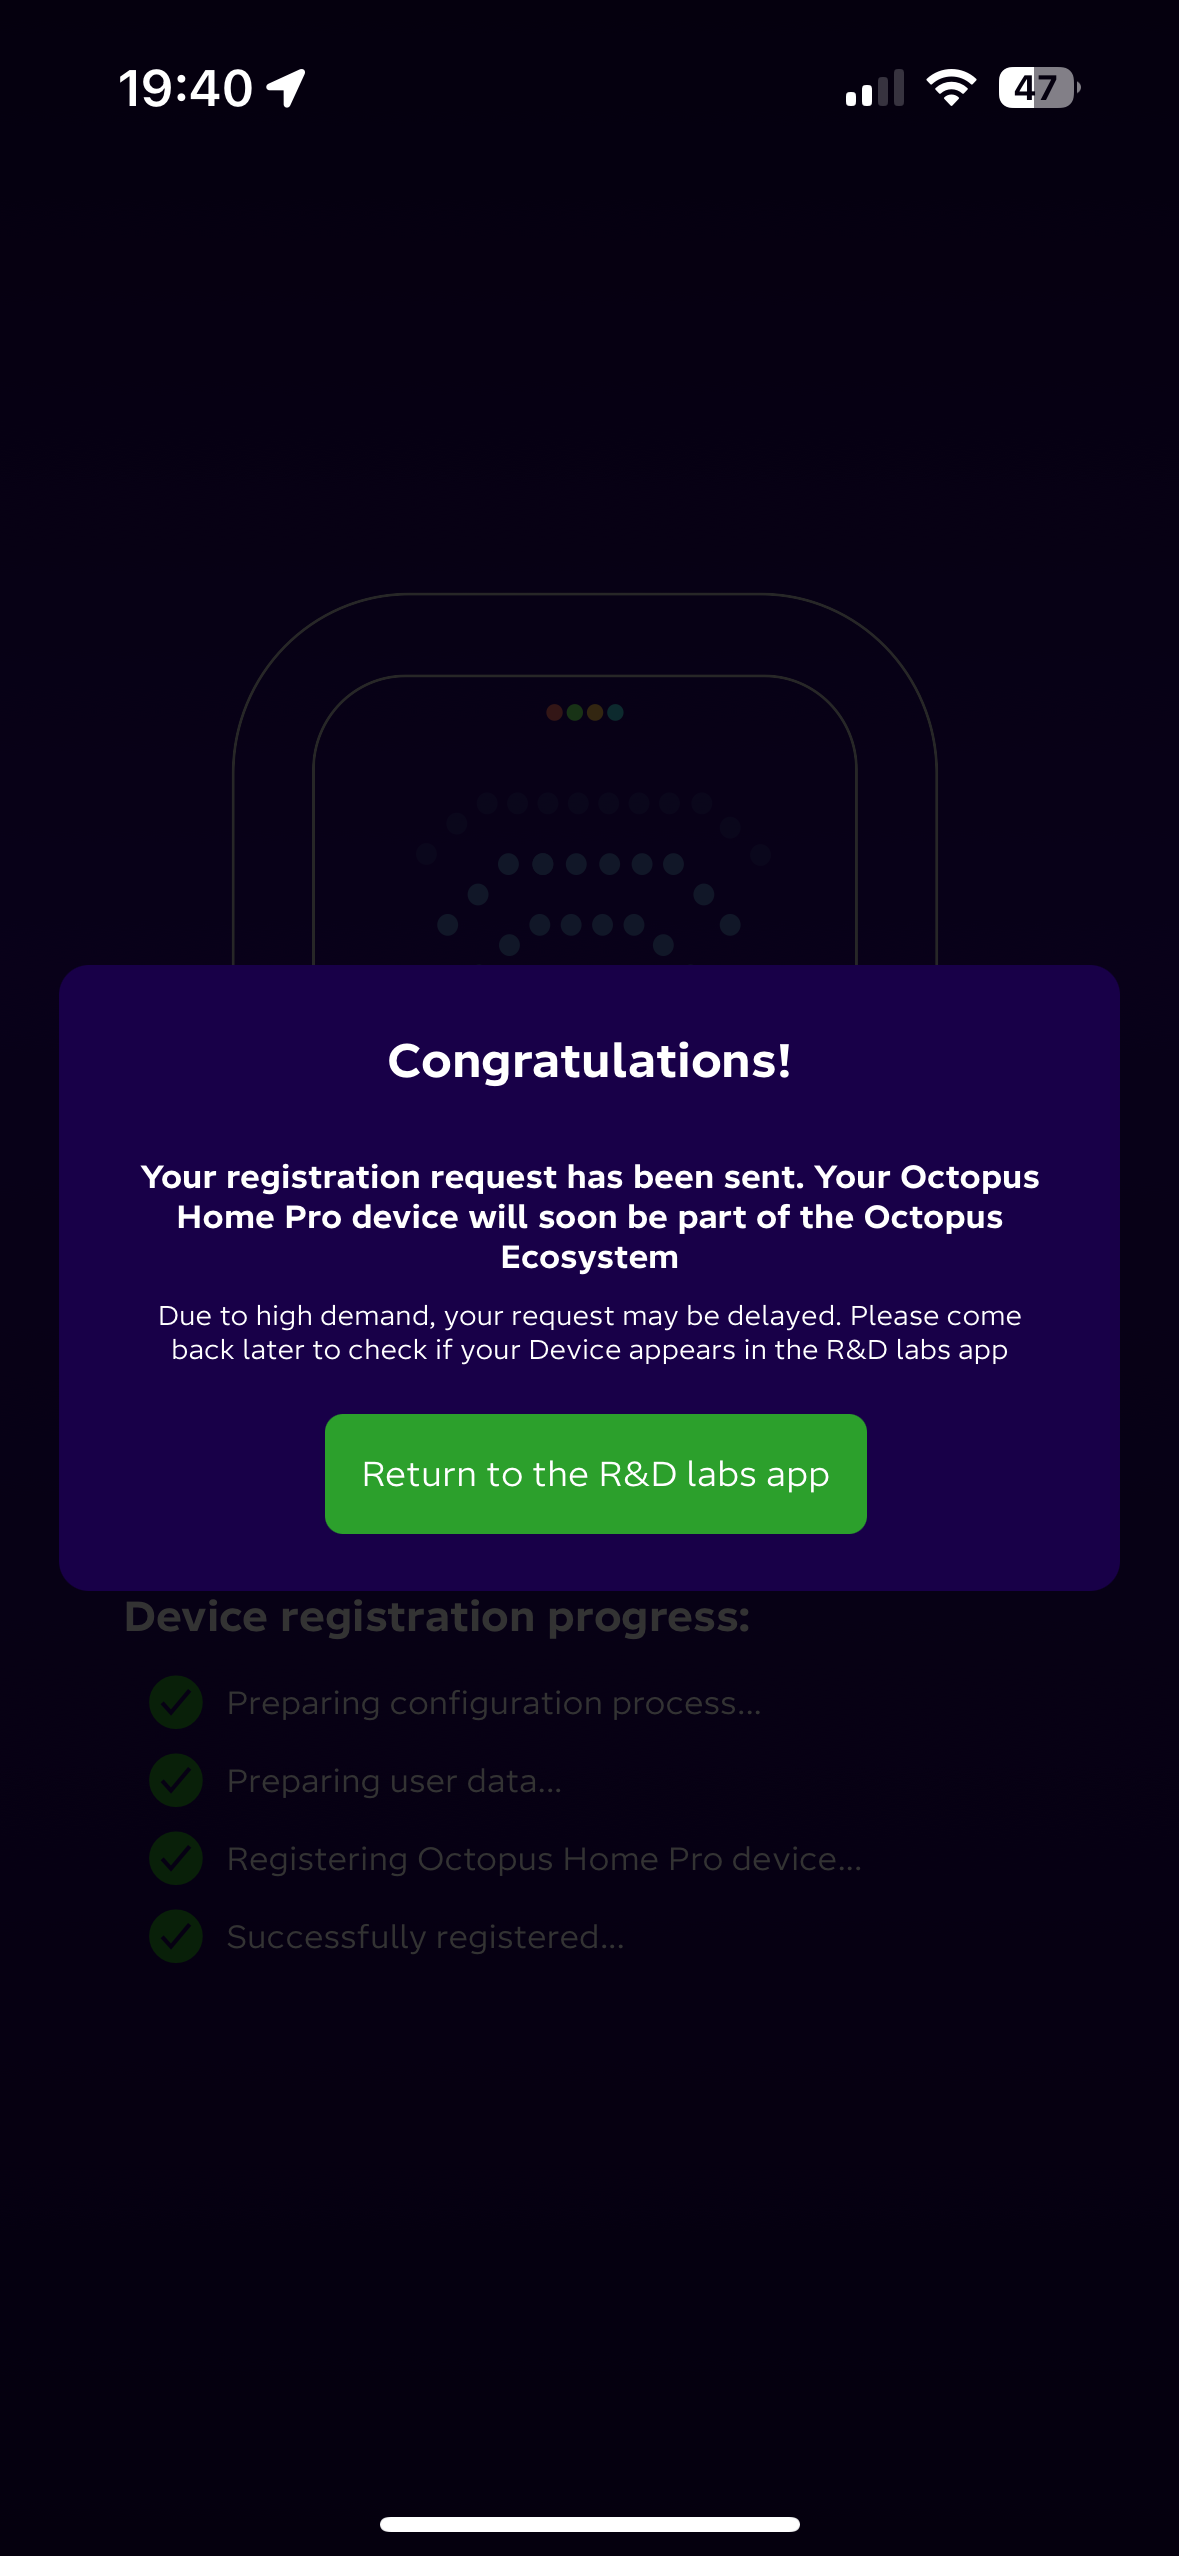
-
Registration Complete
Upon successful registration, you'll see a confirmation screen. Click "Return to the R&D labs app" to access your device dashboard.
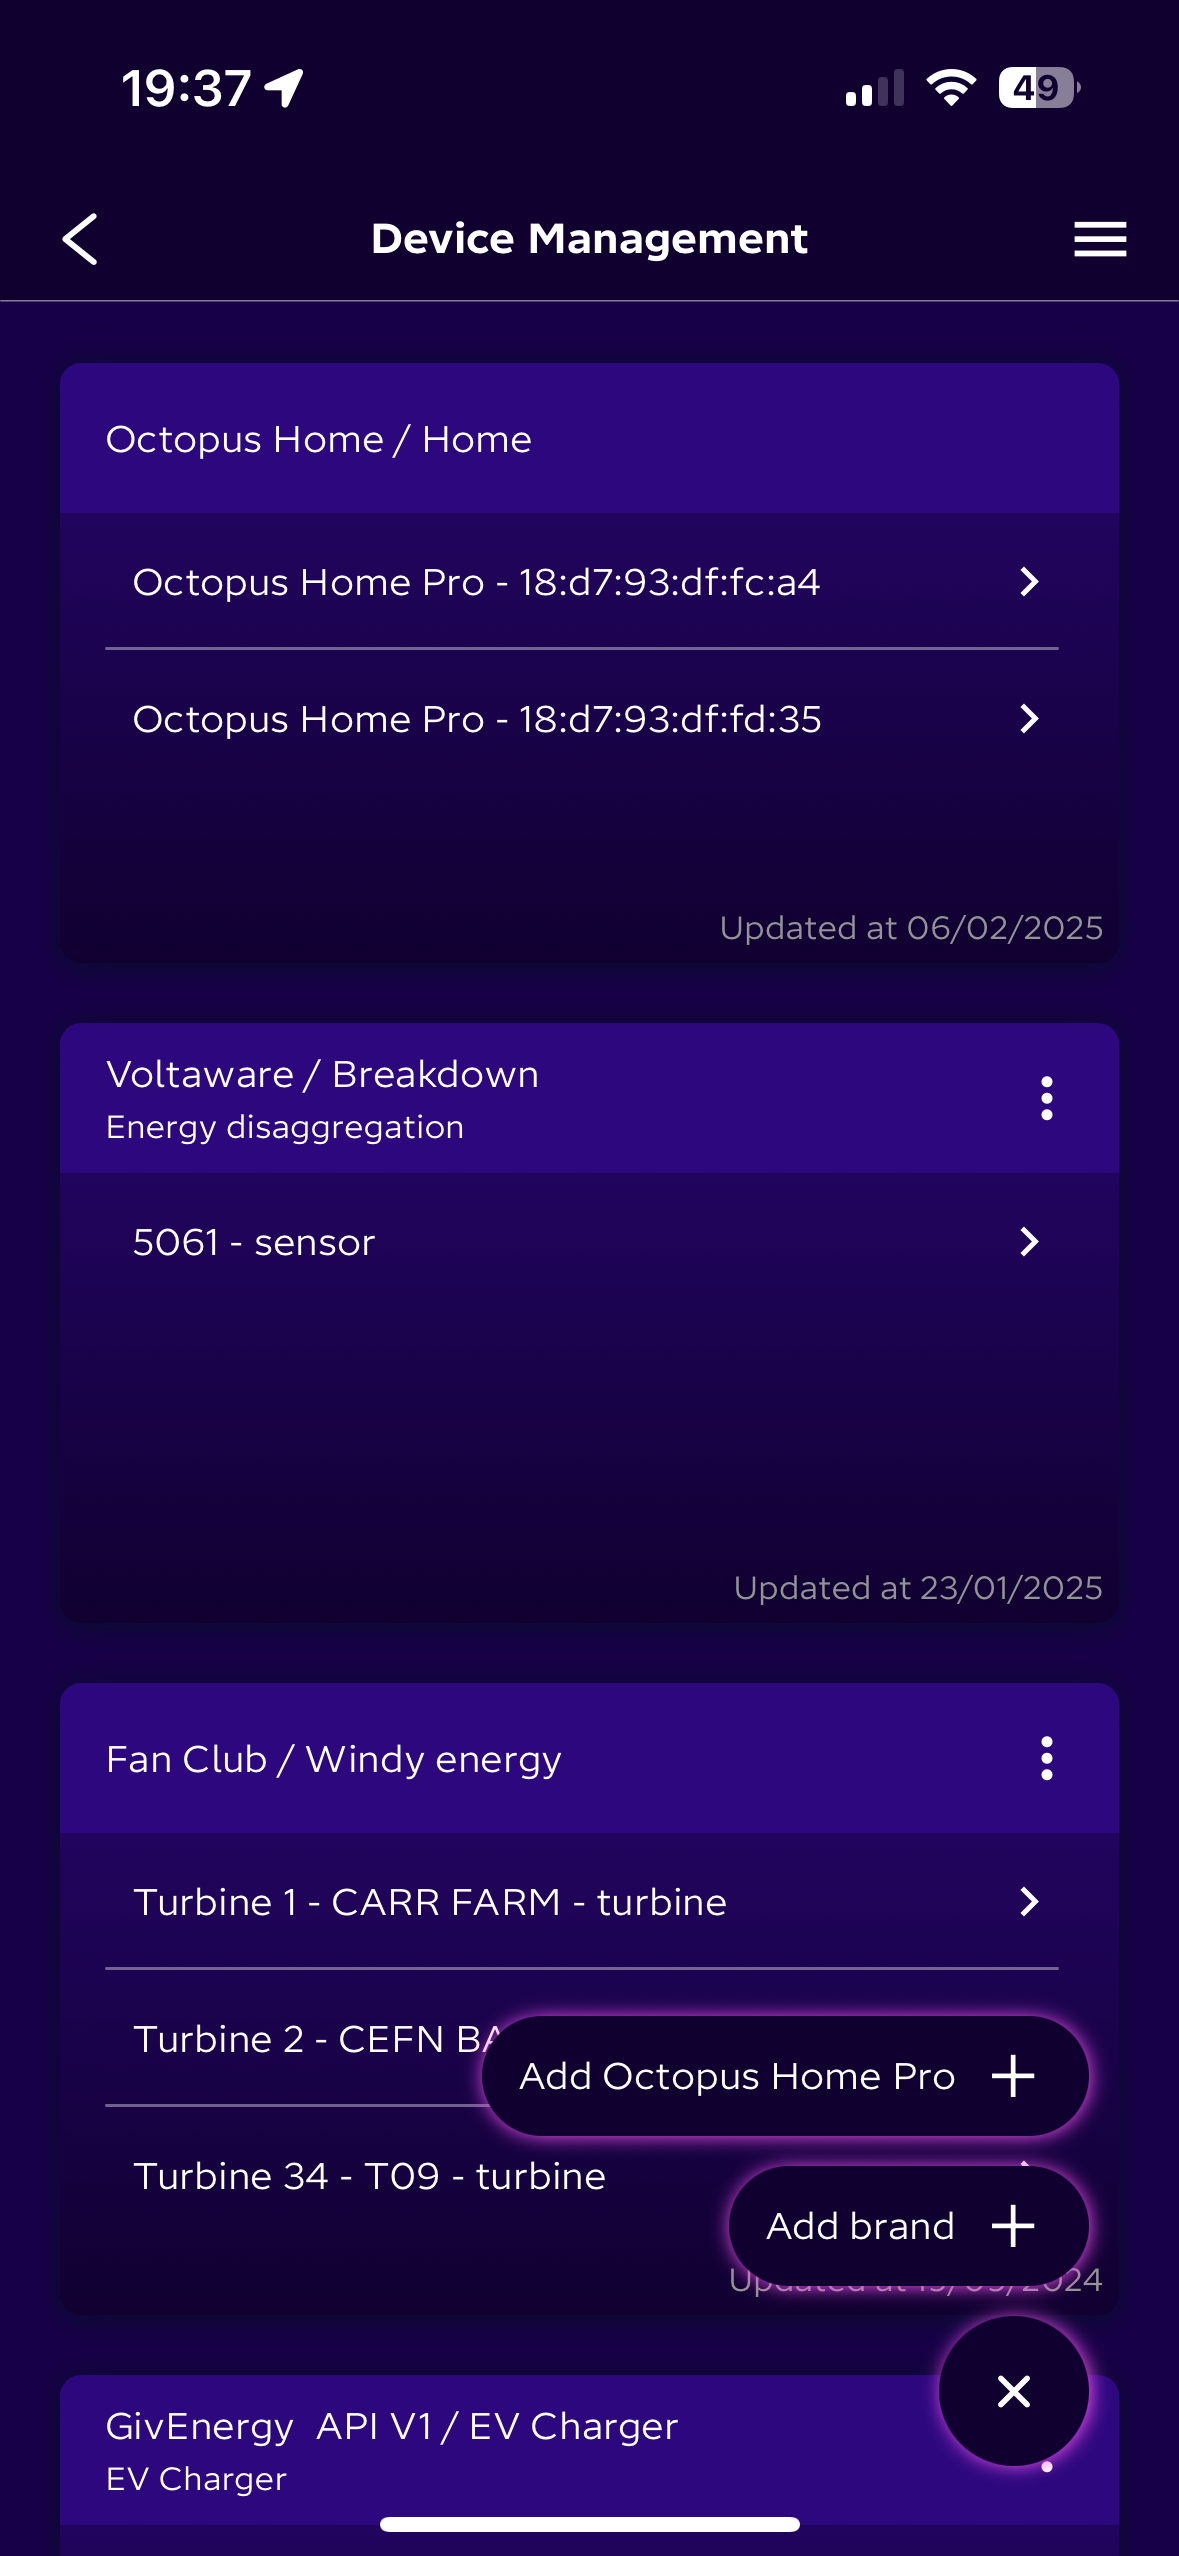
-
Managing Your Device
In the Device Management section, you'll see your newly added Octopus Home Pro listed. Tap on it to access device controls and information.
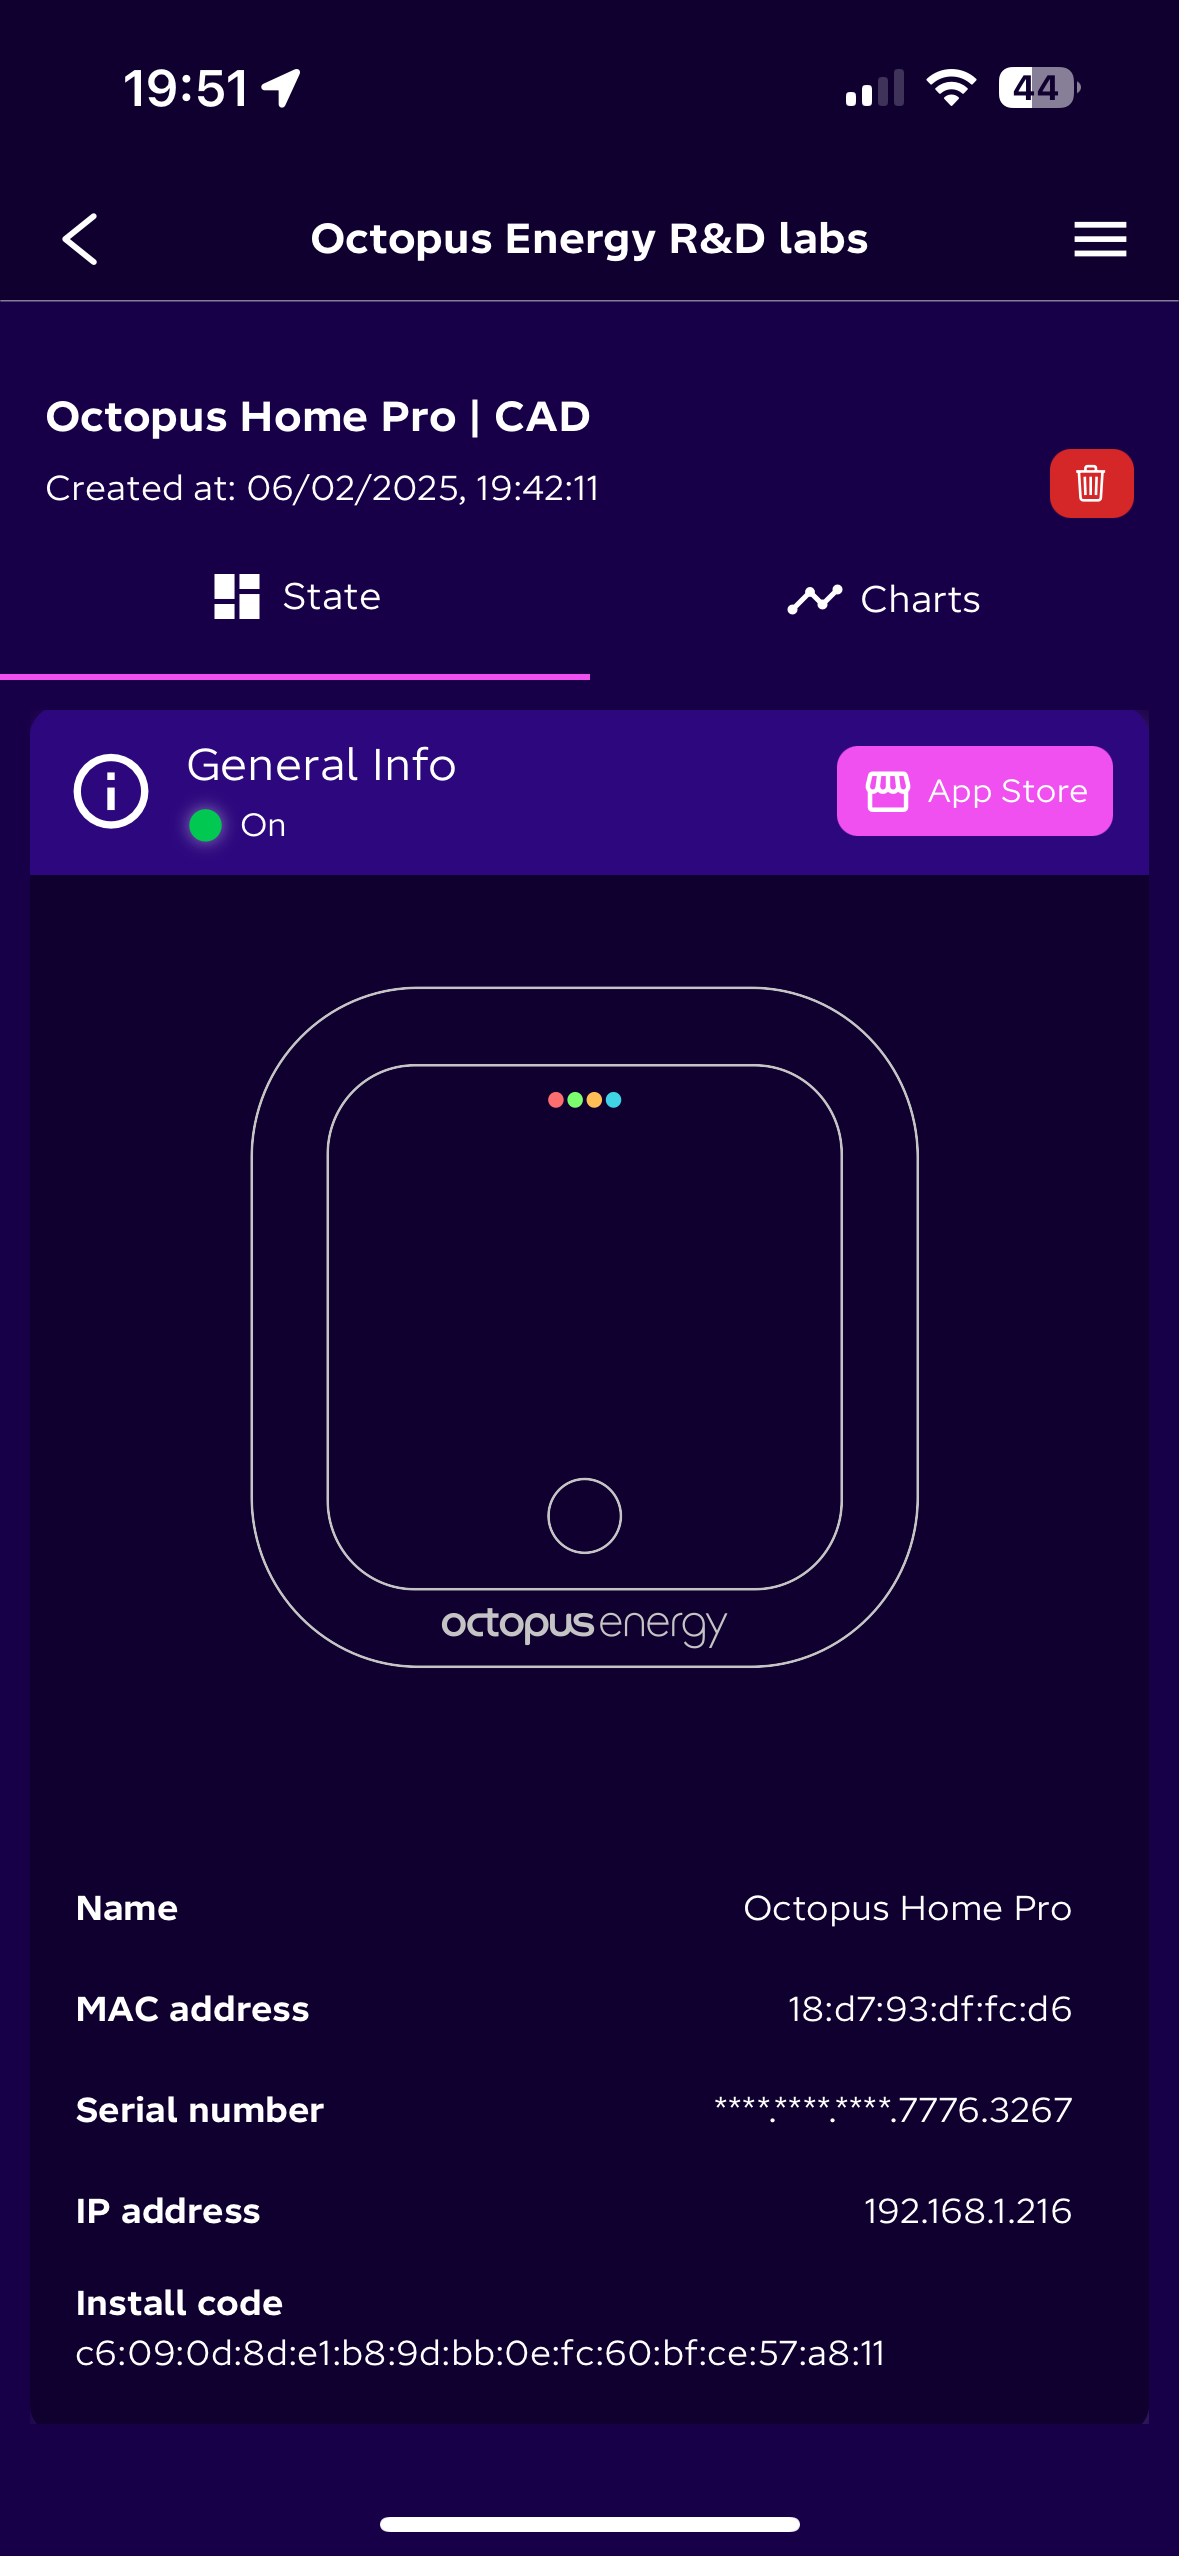
-
Device Status and Information
The device dashboard shows general information about your Octopus Home Pro including its name, MAC address, serial number, IP address, and installation code.
-
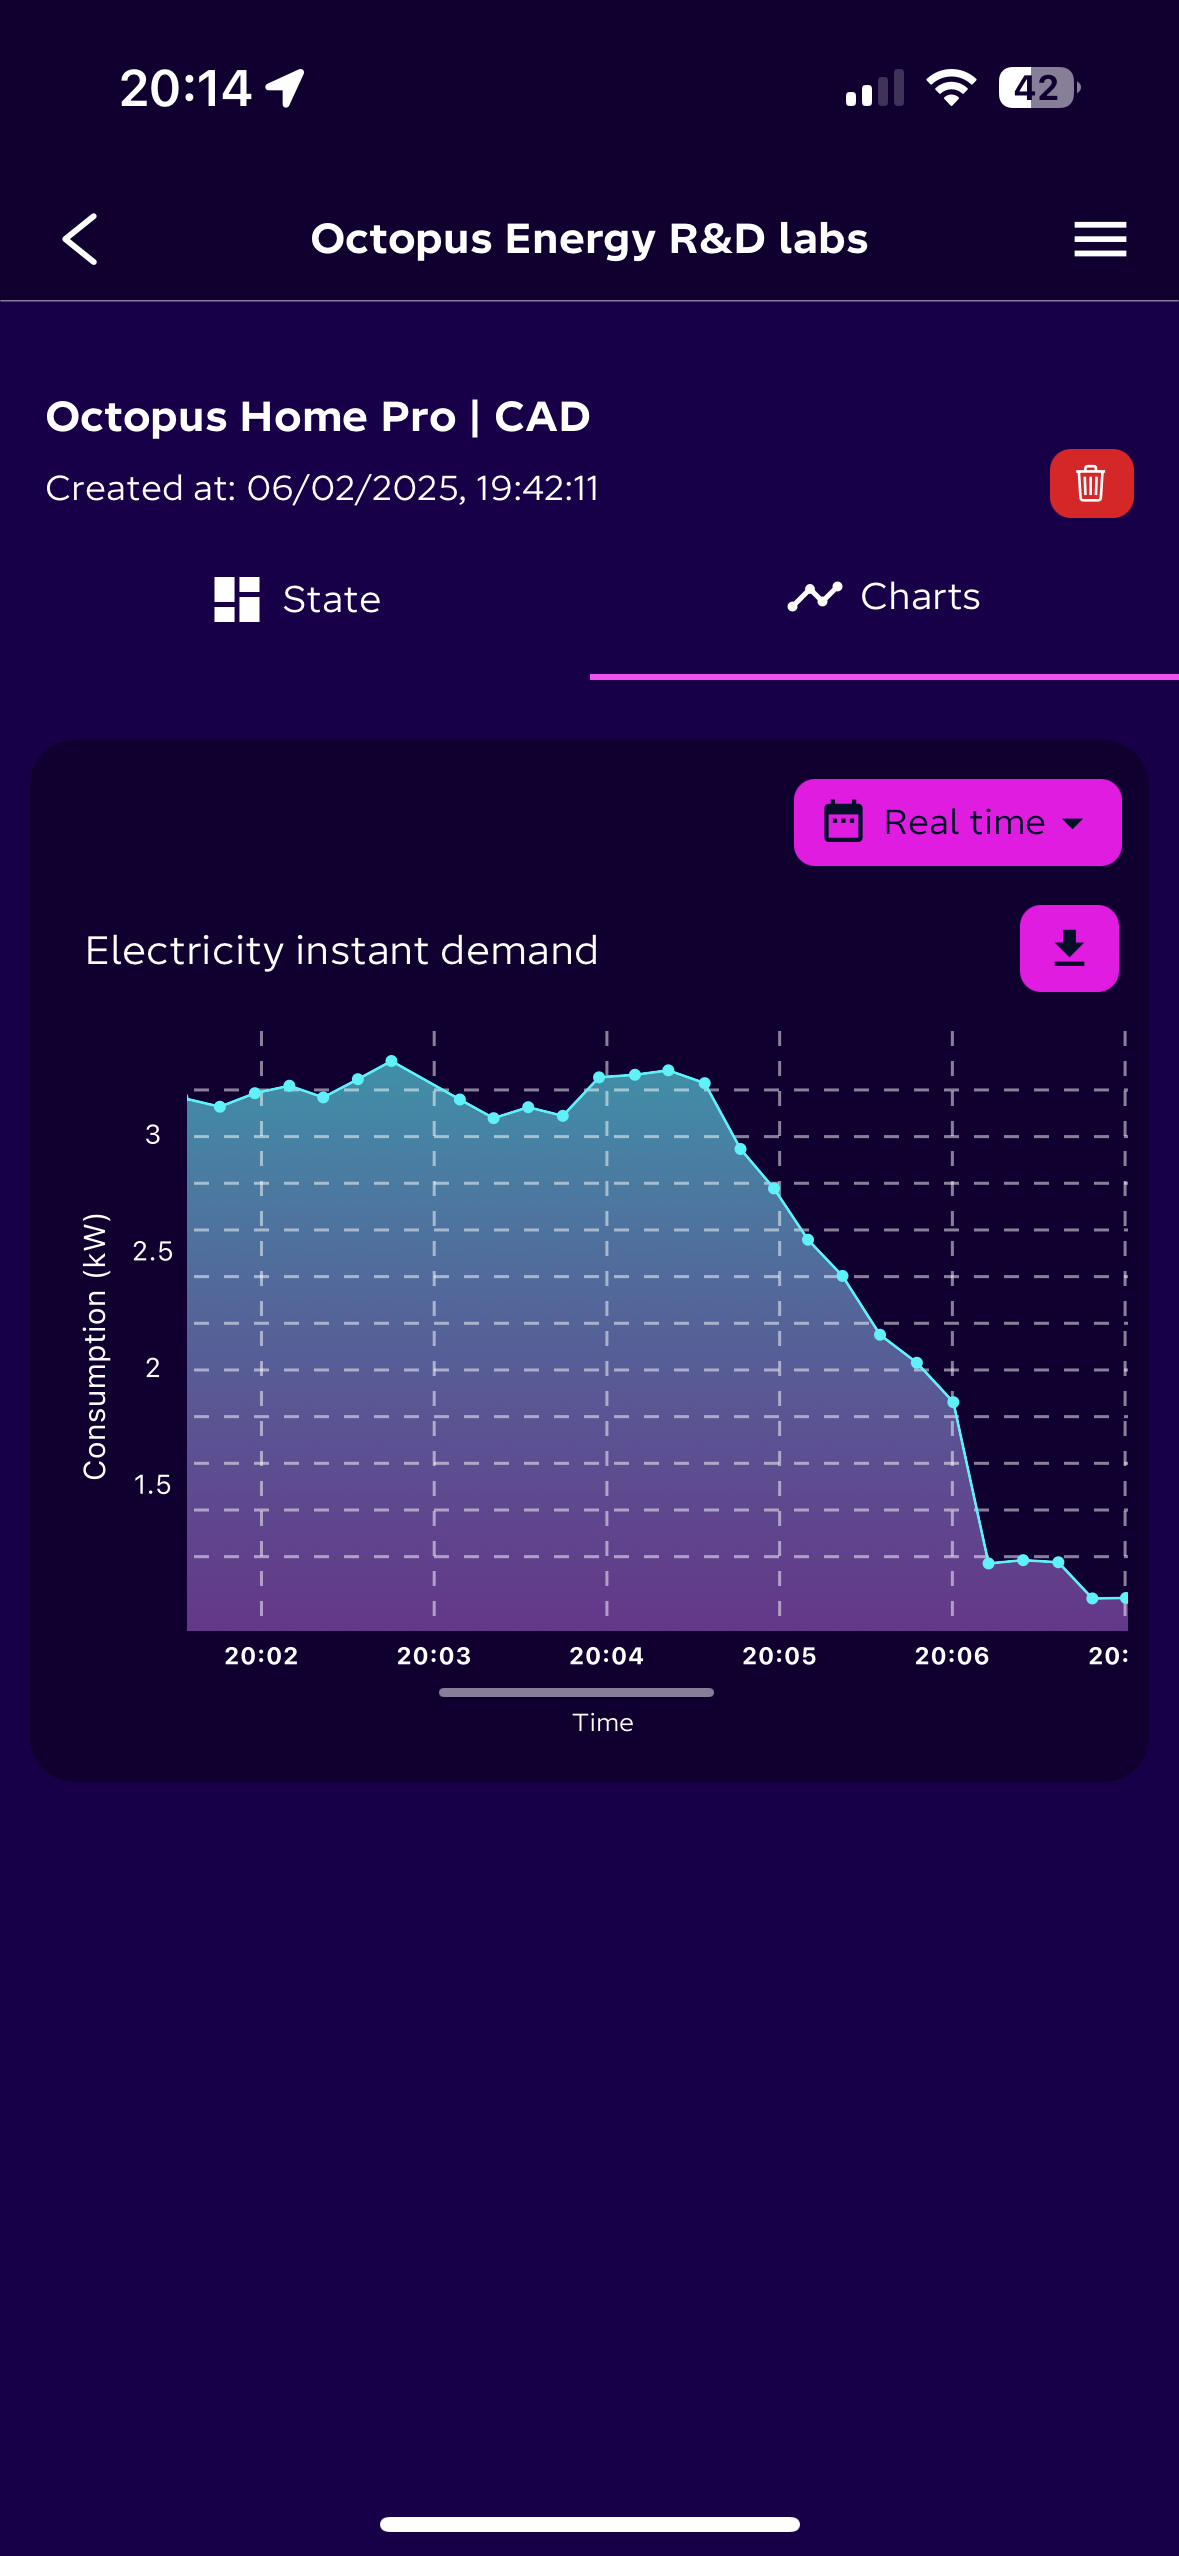
Energy Monitoring
Navigate to the "Charts" tab to view real-time energy consumption data and historical usage patterns from your smart meter.
Smart Meter Connection
The Octopus Home Pro connects to your SMETS2 smart meters via the Home Area Network (HAN).
Automatic Connection
In most cases, the device will automatically detect and connect to your smart meters. This process can take up to 10 minutes after the device is powered on and connected to your network.
The Octopus Energy mobile app will guide you through setup and automatically configure your Home Pro to connect to your smart meters. Make sure your mobile device has Bluetooth enabled and is within 3 meters of the Home Pro during setup.
Troubleshooting Connection Issues
- Ensure your smart meters are SMETS2 compatible
- Check that the device is within range of your meters (ideally within 10 meters)
- Verify that there are no large metal objects or thick walls blocking the signal
- Try repositioning the Octopus Home Pro for better reception
- Contact your energy supplier to verify that the HAN is enabled on your meters
- Check for interference from other wireless devices
- Ensure the device has stable power (no power fluctuations)
- Move the device closer to your smart meters
- Restart both the Octopus Home Pro and your smart meters (if possible)
- Check for firmware updates for your device
- Verify the readings on your physical smart meter display
- Ensure the Octopus Home Pro has the latest firmware
- Check that the correct meters are paired with your device
- Reset the connection in Settings > Smart Meter Connection > Reset Connection
- Contact support if the issue persists
Zigbee Devices
The Octopus Home Pro includes a Zigbee coordinator that allows you to connect and control Zigbee smart home devices.
Compatible Devices
The Octopus Home Pro works with most Zigbee 3.0 certified devices, including:
- Smart plugs and outlets
- Light bulbs and switches
- Motion sensors
- Door/window sensors
- Temperature and humidity sensors
- Water leak detectors
- Smart buttons and remotes
- Thermostatic radiator valves
Adding Zigbee Devices
- Open the Octopus Home Pro dashboard
- Navigate to Devices > Add Device
- Select "Zigbee Device" as the device type
- Click "Start Pairing" to put the coordinator in pairing mode
- Follow the instructions for your specific Zigbee device to put it in pairing mode (typically by pressing a button or power cycling the device)
- Once detected, the device will appear in the list. Give it a name and assign it to a room (optional)
- Click "Finish" to complete the setup
Managing Zigbee Devices
Once connected, you can manage your Zigbee devices in several ways:
- Use the Devices section of the dashboard to control them directly
- Create automations based on time, energy usage, or other triggers
- Group devices for coordinated control
- Access devices through installed apps
- Integrate with Home Assistant or other platforms
Using Apps
The Octopus Home Pro can run various apps that extend its functionality. These apps can be installed from the App Store.
Installing Apps
- On the dashboard, navigate to Apps > App Store
- Browse or search for apps
- Click on an app to view details
- Click "Install" to download and install the app
- Follow any setup instructions that appear
Managing Apps
To manage your installed apps:
- Go to Apps > My Apps to see all installed apps
- Click on an app to open it
- Use the app's settings to configure its behavior
- To uninstall an app, click the "..." menu next to the app and select "Uninstall"
- To update an app, click the "..." menu and select "Update"
Popular Apps
Energy Monitor Pro
Advanced energy usage tracking with detailed analytics, exportable data, and customizable dashboards.
Smart Lighting Control
Automatically control your smart lights based on energy prices, time of day, and occupancy sensors.
Home Assistant Bridge
Connect your Octopus Home Pro to Home Assistant for seamless integration with your smart home.
Developer SDK
Tools for building your own apps for the Octopus Home Pro platform.
Developer Documentation
The Octopus Home Pro provides a comprehensive SDK for developing custom applications.
Important Update
home_pro_homeassistant_sdk app available on the Home Pro AppStore. Please refer to that app's readme section for usage information.
Connect with Visual Studio Code
- Click on the Extensions tab on the left panel in VS Code
- Search for and install the 'remote-ssh' extension
- Choose View -> Command Palette -> Remote-SSH: Connect to Host
- Select '+ Add New SSH Host' and add:
where <HPRO-IP> should be replaced with the IP address of your Home Pro retrieved from the Octopus Energy R&D labs app.ssh -p 8023 -o HostKeyAlgorithms=+ssh-rsa root@<HPRO-IP> - When prompted, use the password 'cad_dev'
The first time an ssh connection is made to the Home Pro it will take a couple of minutes as the VSCode SSH Server is downloaded to the Home Pro container for subsequent use.
The file system structure from root base directory is:
startup.sh
Octave_PWM/
Octave_I2C/
Octave_GPIO/
Octave_SPI/
Octave_Energy/
Octave_Screen/
The startup.sh is a script that is run at container launch while the Octave_* are directories for APIs of the different interfaces.
App Structure
my-energy-app/
├── app.json           # App metadata and configuration
├── index.js           # Main entry point
├── package.json       # Dependencies
├── README.md          # Documentation
├── assets/            # App assets (icons, etc.)
│   ├── icon-48.png
│   ├── icon-96.png
│   └── icon-192.png
└── lib/               # Additional code modules
    ├── api.js
    └── utils.js
Testing and Deployment
To test your app:
# Test in the emulator
home-pro-cli emulate

# Deploy to your device
home-pro-cli deploy --device=living-room
API Documentation
For comprehensive API documentation with detailed code examples and implementation guides, please refer to our dedicated API Reference page.
Troubleshooting
If you encounter issues with your Octopus Home Pro, try these common solutions:
- Check that the power adapter is securely connected to both the device and the power outlet
- Try using a different power outlet
- Ensure you're using the provided 5V/3A USB-C power adapter
- Check the power cable for damage
- If the device still won't power on, contact support
- Ensure your WiFi network is operating correctly
- Check that you're entering the correct WiFi password in the mobile app
- Make sure the device is within range of your WiFi router
- Verify Bluetooth is enabled on your mobile device during setup
- Try restarting your router
- Reset the device's network settings by holding the recessed reset button for 5 seconds
- Try the setup process again from the Octopus Energy app
- Check your internet connection
- Ensure the device has sufficient storage space (check in Settings > System > Storage)
- Try restarting the device
- Clear the App Store cache (Settings > Apps > App Store > Clear Cache)
- Check for system updates (Settings > System > Updates)
To perform a factory reset:
- Power off the device
- Press and hold the recessed reset button using a paperclip or similar tool
- While holding the reset button, power on the device
- Continue holding the reset button until the LED flashes red three times
- Release the button
- The device will reset to factory defaults and reboot
Need Additional Help?
If you're still experiencing issues, our support team is ready to assist you.
Contact Support